Do you see beautiful pictures on social media and think, how do they do this? Would you like to learn? Today is your lucky day! I’m going to share what I view as the 4 most important tips on how to take good pictures.
When I started my blog, I learned it was imperative I learn photography. Luckily, one of my good friends is a professional photographer and model, so he was the perfect starting point for me to learn. Having experience from both sides of the lens, Ben has a unique perspective which allows him to create beautiful works of art. Who better to teach me, right?
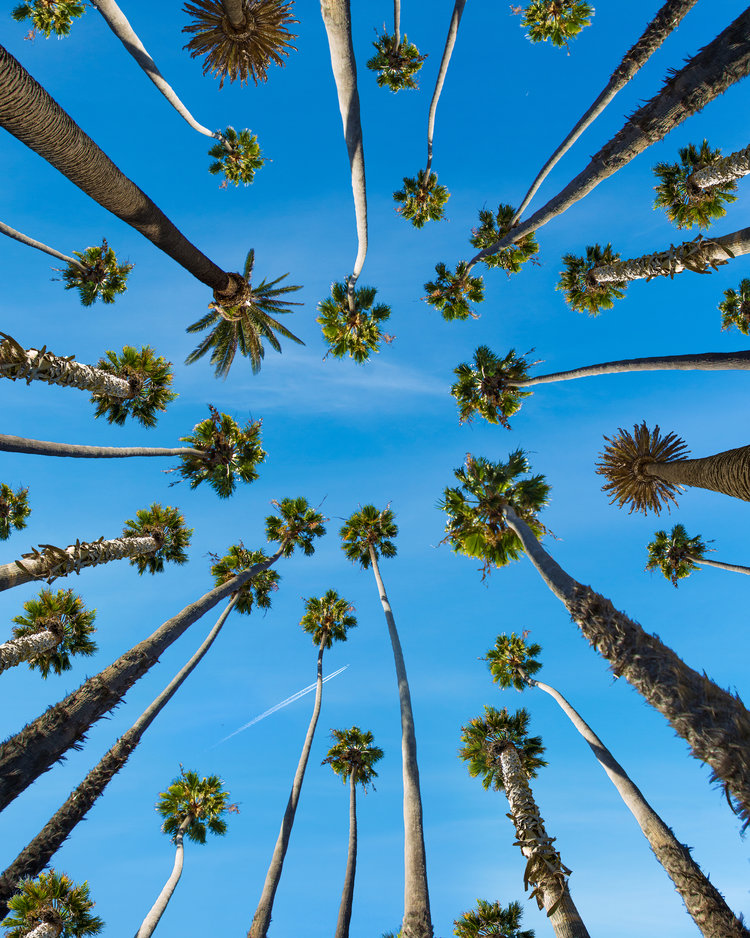
“Palm City” By Benjamin Benoit
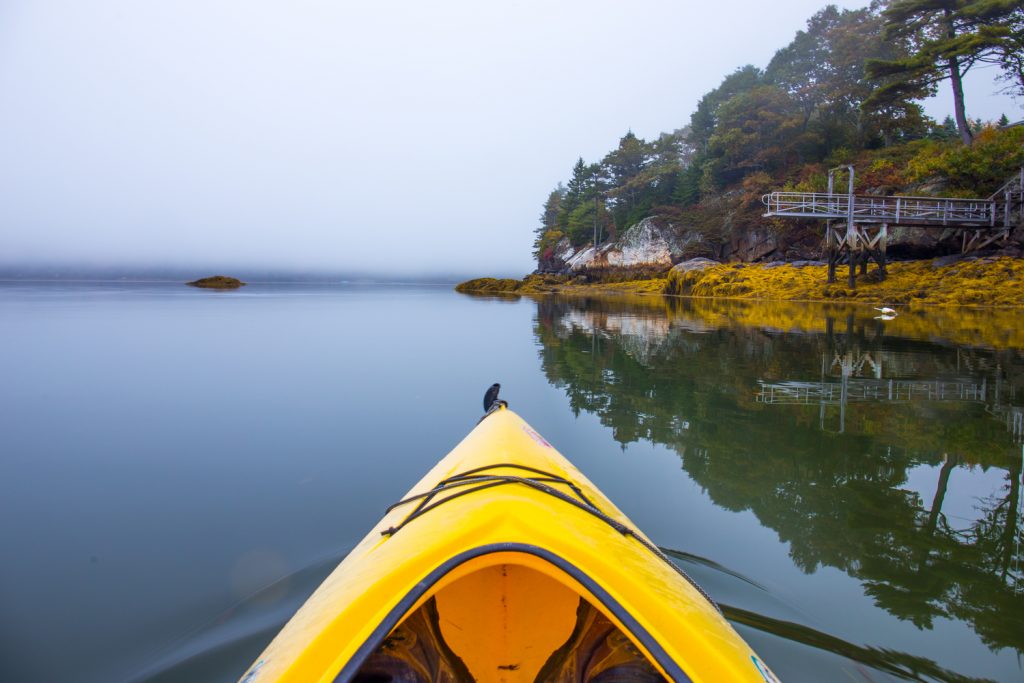
“Winnegance Bay, Maine” By Benjamin Benoit
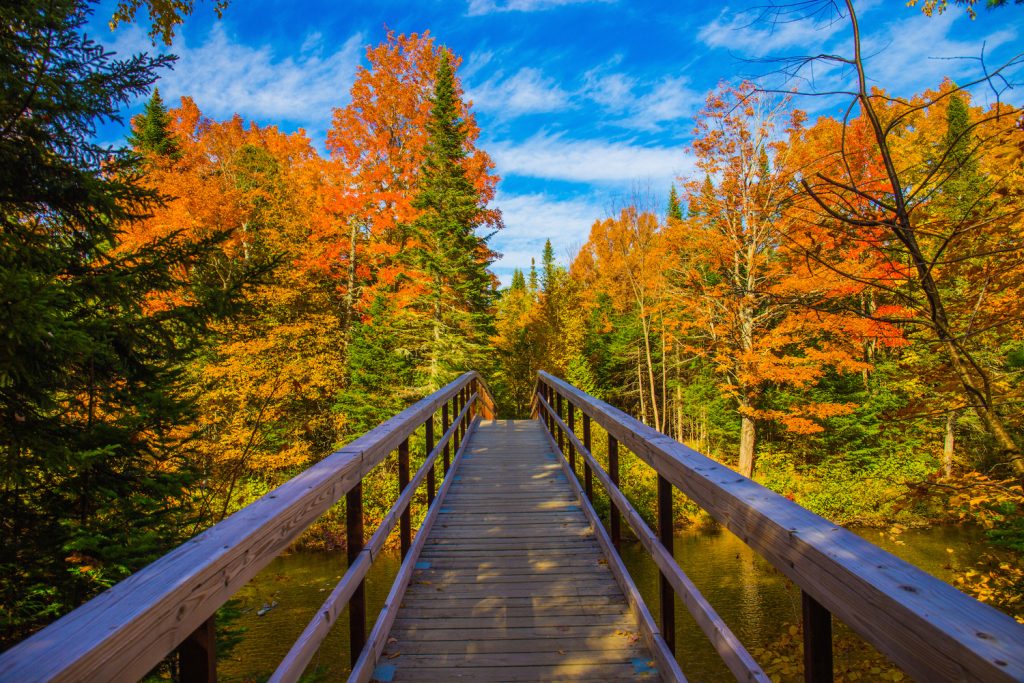
“The Bridge to Peak Foilage” By Benjamin Benoit
Do you follow me on Instagram (shameless plug- please follow me @ozosalt)? If you look on my page, you will see that I apply the principles I will cover here in my pictures.
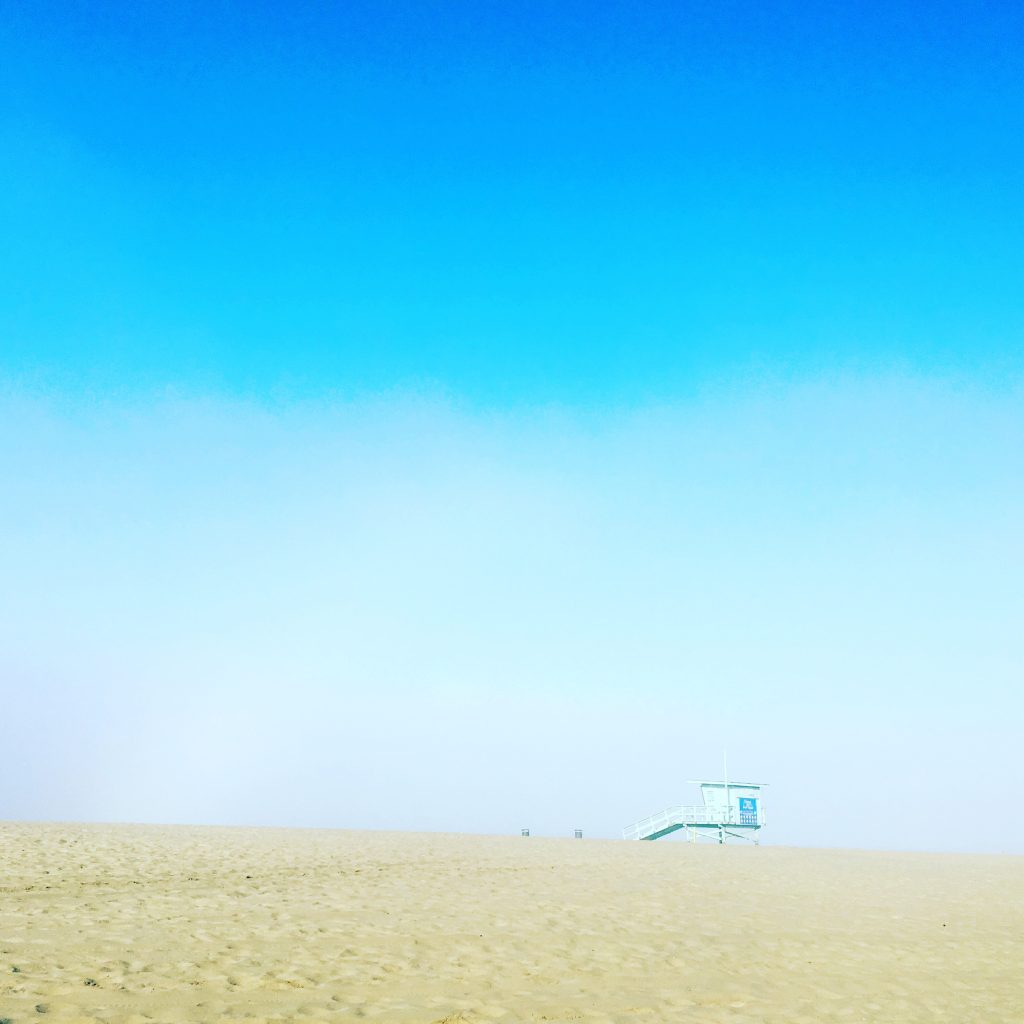
Iphone picture by me on a cloudy day.
How I Learned to Take Good Pictures
I started off by taking one of Benjamin Benoit‘s photography classes (he offers them in the summer once a month) which is covered in my You Can Learn to Take Pictures in Manual Mode post. But if you are not used to DSLR cameras, the post will probably make your eyes glaze over.
Ben is a professional, so his skills are way more advanced than mine. But in taking his class and having him give me points here and there, I learned the basic art of taking a good picture. Improve your picture quality by implementing the following 4 points:
1. Lighting is Everything
What do these pictures have in common?
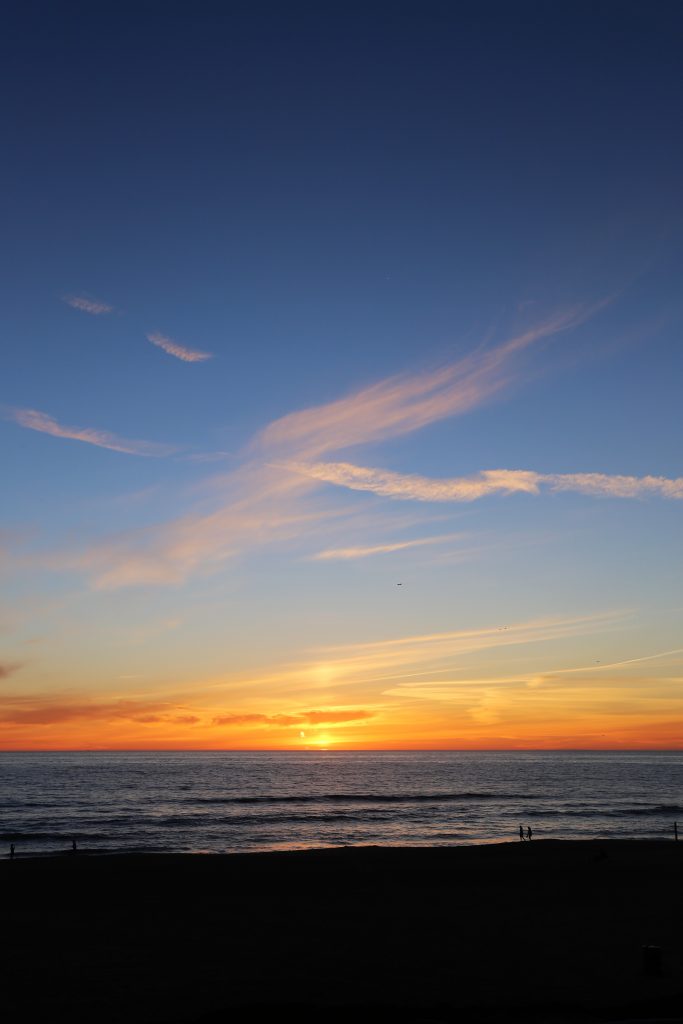
Manhattan Beach Sunset
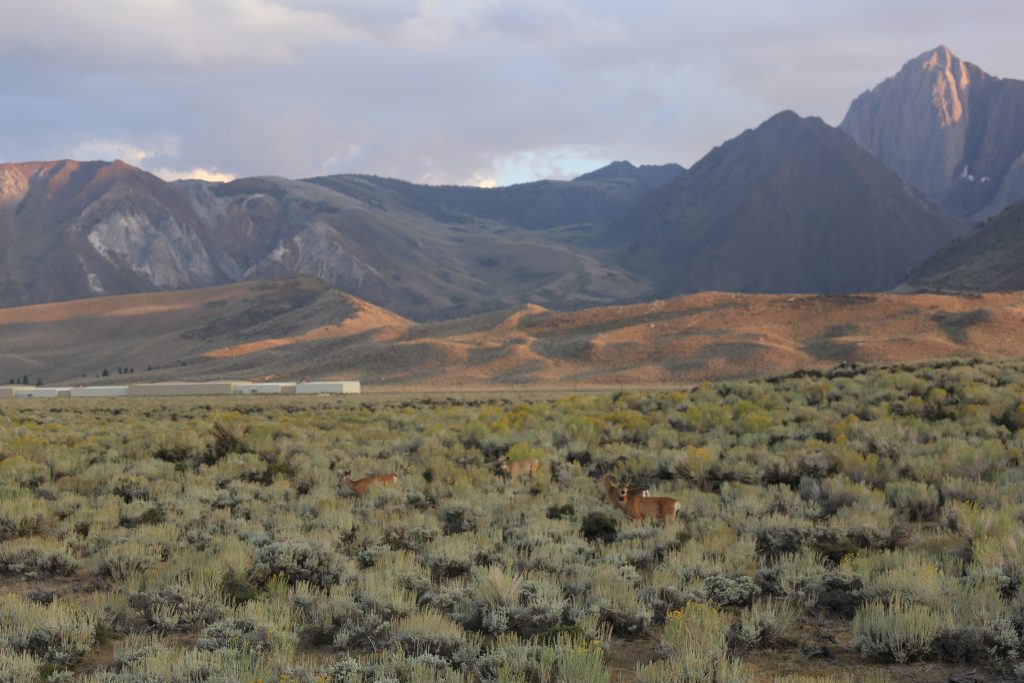
Mammoth Lakes at dusk
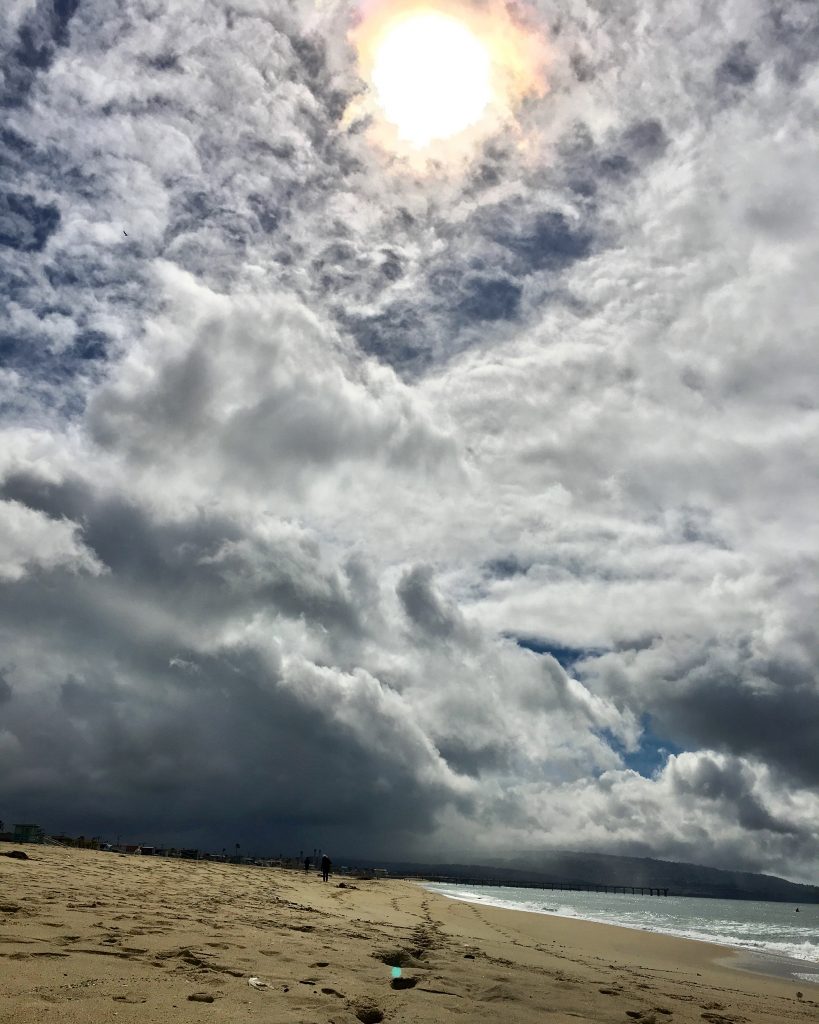
Hermosa Beach, cloud covered rainy morning
These pictures were taken early in the morning or late in the afternoon which are the best times to get optimal natural light for photography. Pictures facing directly into the sun will not turn out. Try and take your pictures during these times and you will need little or no editing. June gloom and May gray days (as we know them in Southern California) are perfect days to take pictures!
At the very least, take your pictures in shadows when taking portrait shots. Don’t take pictures in direct sunlight or the lighting will hit your face and body in unflattering ways. I learned this the hard way when I asked Ben to take my About Me page shot at one of my favorite restaurants (The Strand House) since it was the perfect representation for my blog. We could only get in at 11am, and it was super sunny. Ben took 450 pictures. The lighting hit my face in all the wrong places! I think we ended up using the 449th pic, reluctantly, after heavy editing.
2. For Landscape Pictures, Get Low
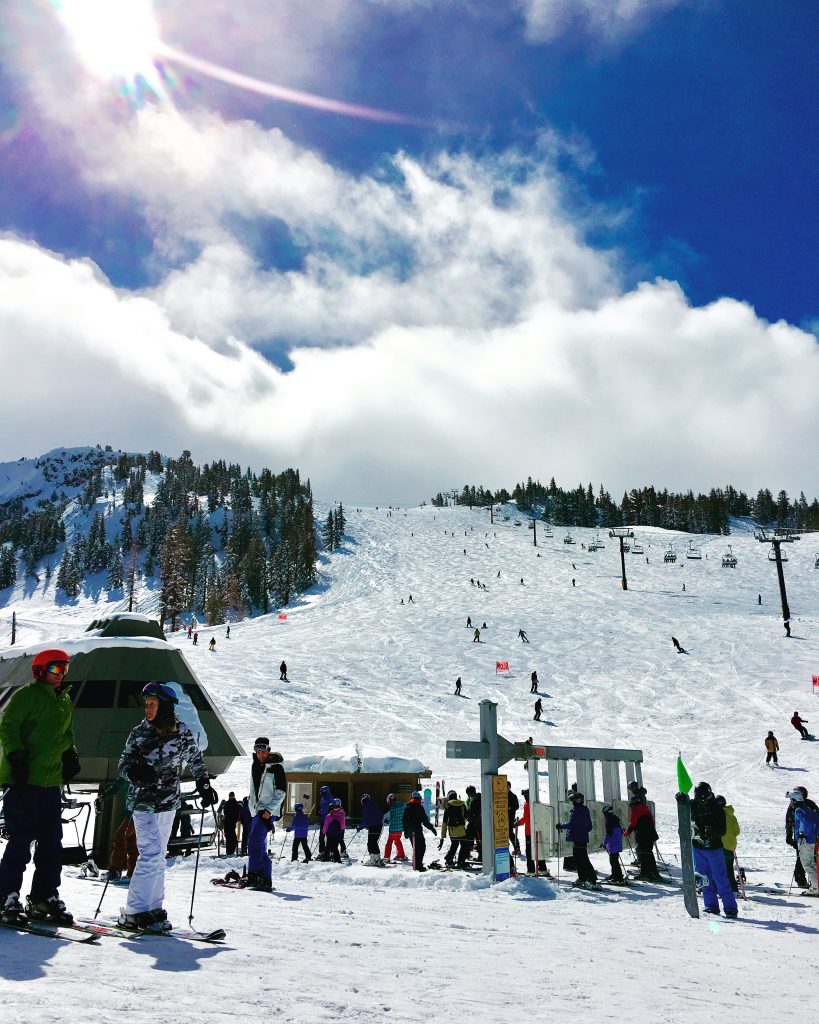
It seems obvious now that I know this, but I had no idea until Ben told me. When you take the picture from the lowest point and can capture more of the sky, the picture will show the viewer more of the landscape.
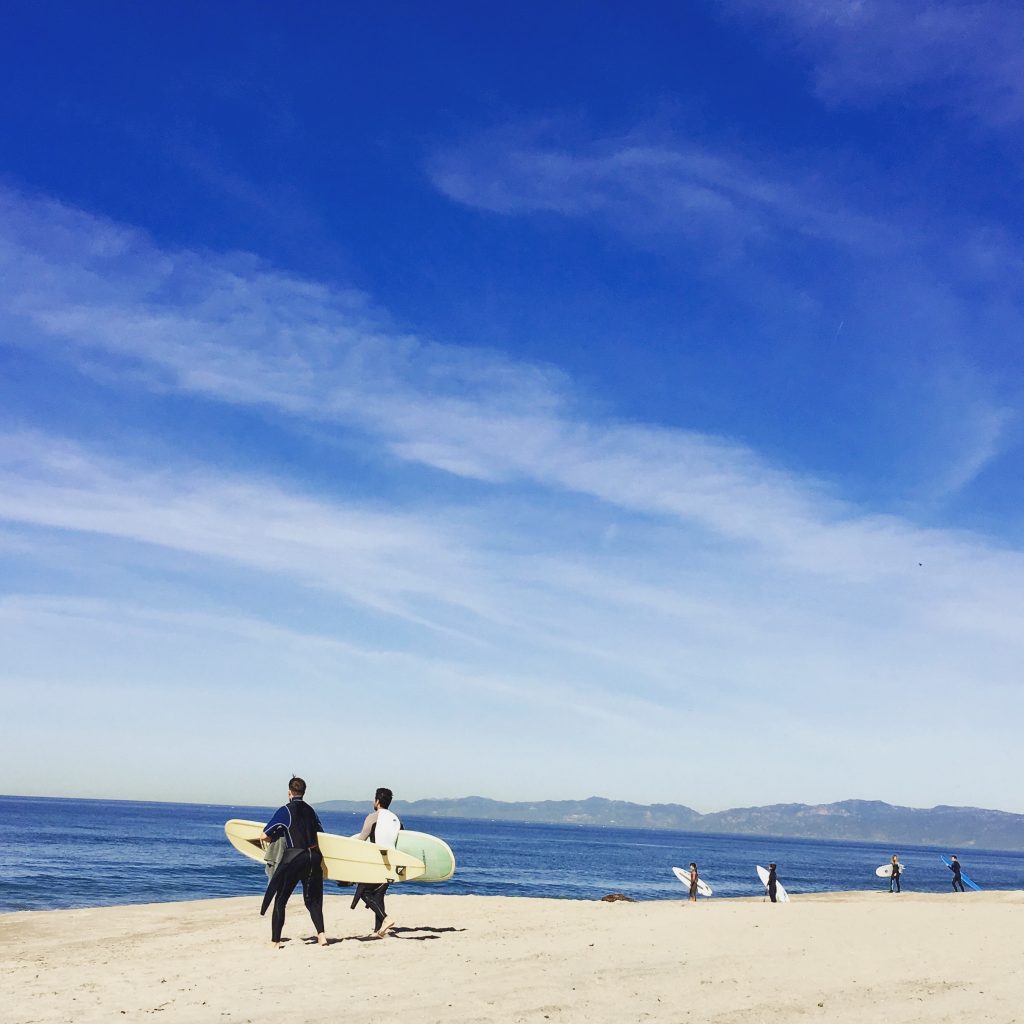
Iphone shot during my run
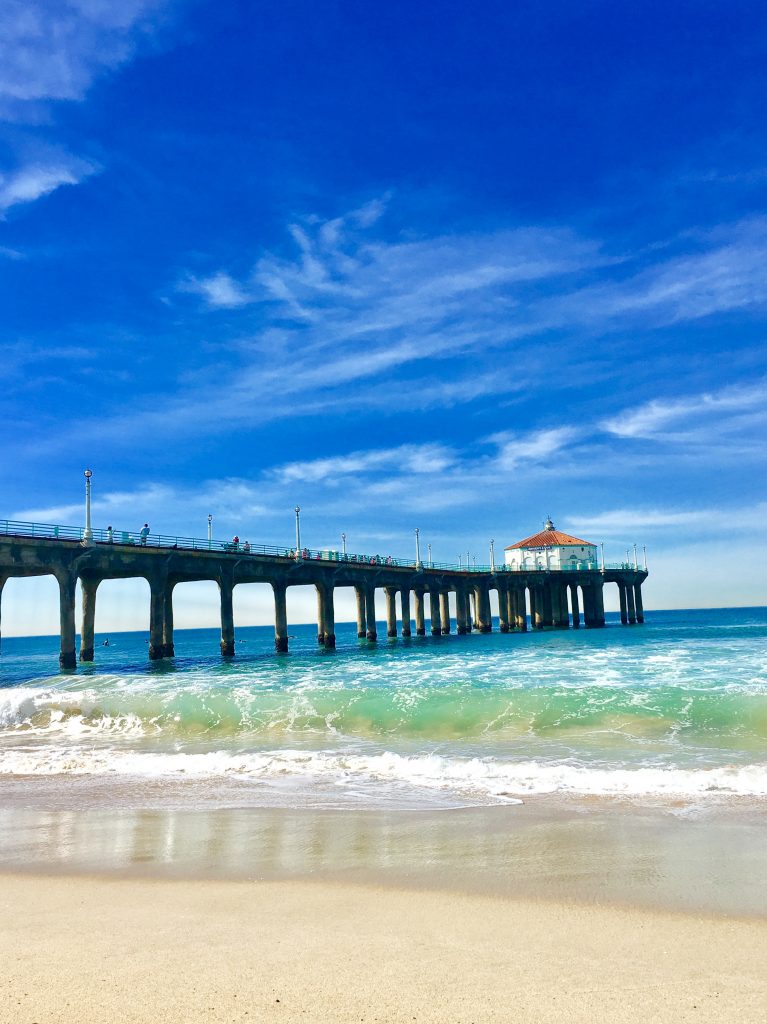
Iphone shot while having a cocktail
IPhone shot during my run
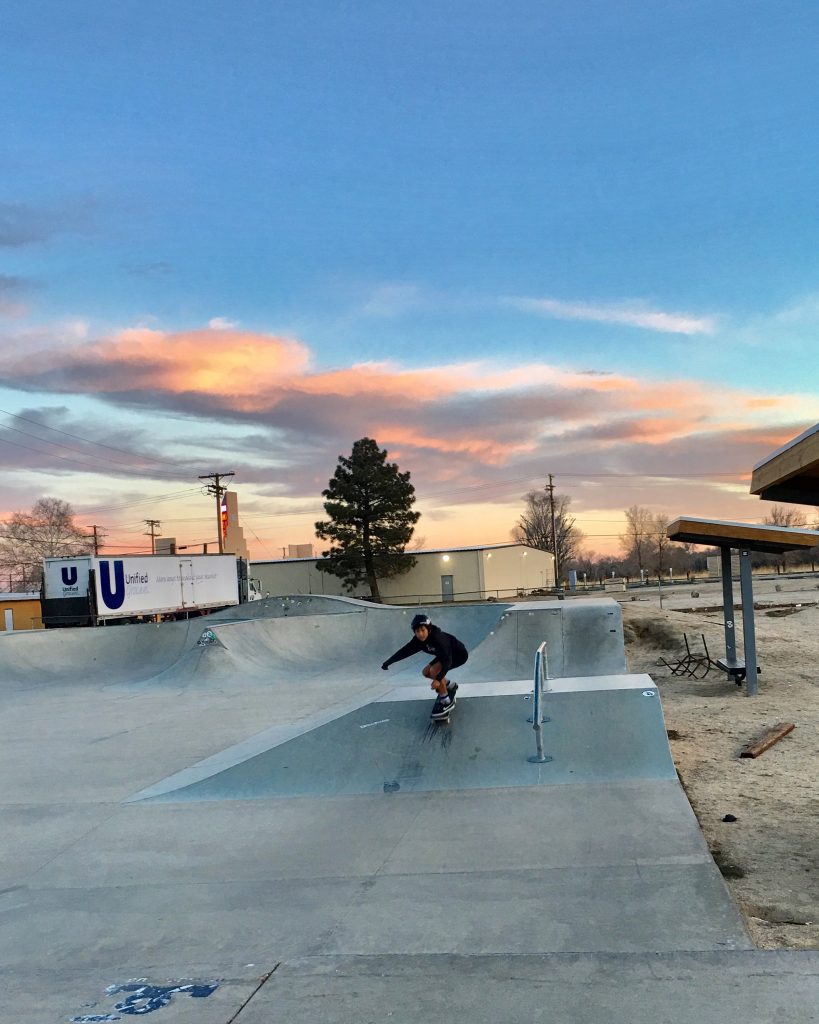
Iphone shot at the skatepark – dusk
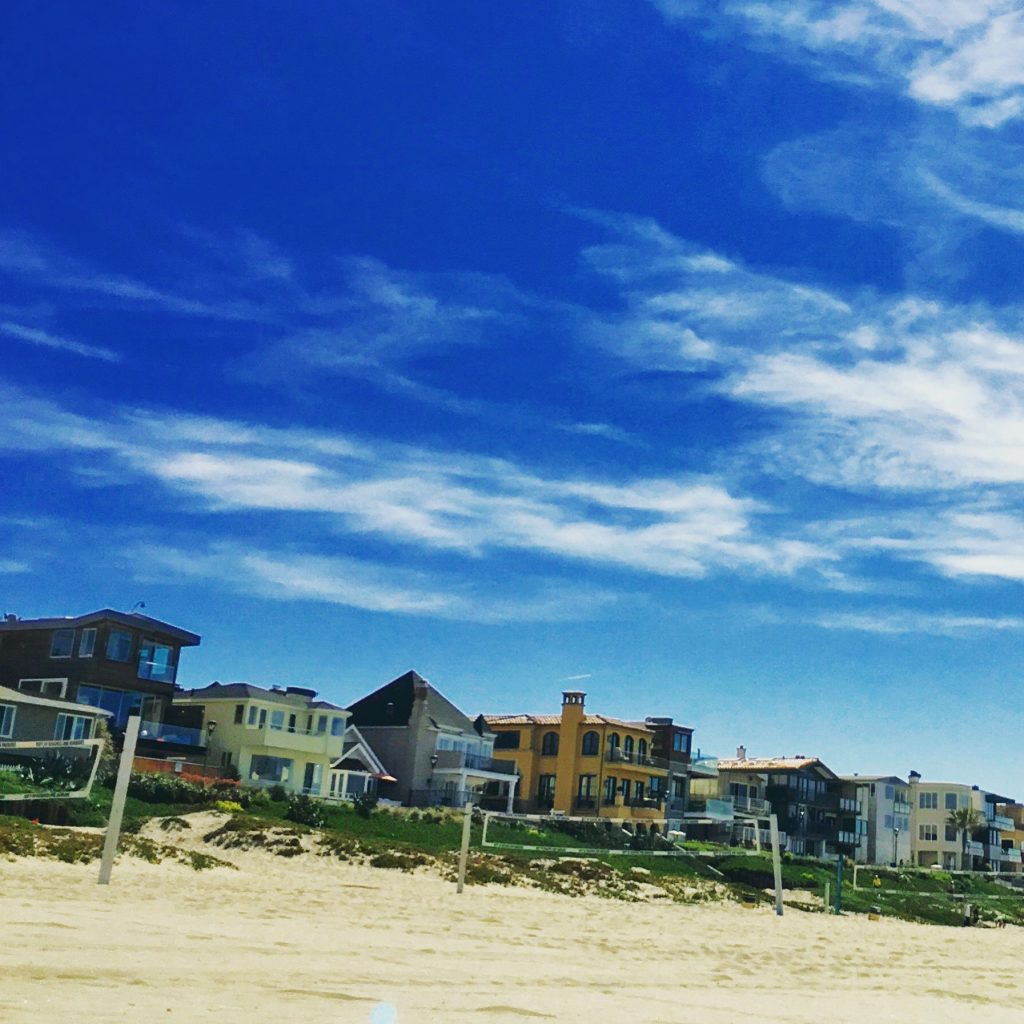
Iphone shot during my run
Can you see what I mean by getting low? This is why you see photographers laying on the ground sometimes. The viewer wants to live vicariously through the picture. Also, blues and greens give a calming effect to the viewer. Pictures with a lot of blues are known to do the best on social media.
3. Make Background Blurry
This is more tricky and requires a DSLR camera. If you have a basic Canon Rebel, buy the nifty 50 lens which costs about $125. It allows the aperture setting to go as low as 1.8 which will give you the blurry background you want. Did I lose you? Ok, skip this point for now but come back later because this is an important feature to learn.
BUT at the very least, on your iphone, make sure to double tap on the subject before taking the picture. This will put the subject in focus. Sometimes the phone will create a blurry background for you if the lighting is right.
The pictures in this section were all taken by me with a Canon Rebel/Nifty 50 or a Canon EOS 6D (professional grade camera).





4. Use the Rule of Thirds
This is a rule of thumb which applies to the process of composing visual images. Divide the image into nine equal parts. Aligning a subject with these points creates more interest in the composition.
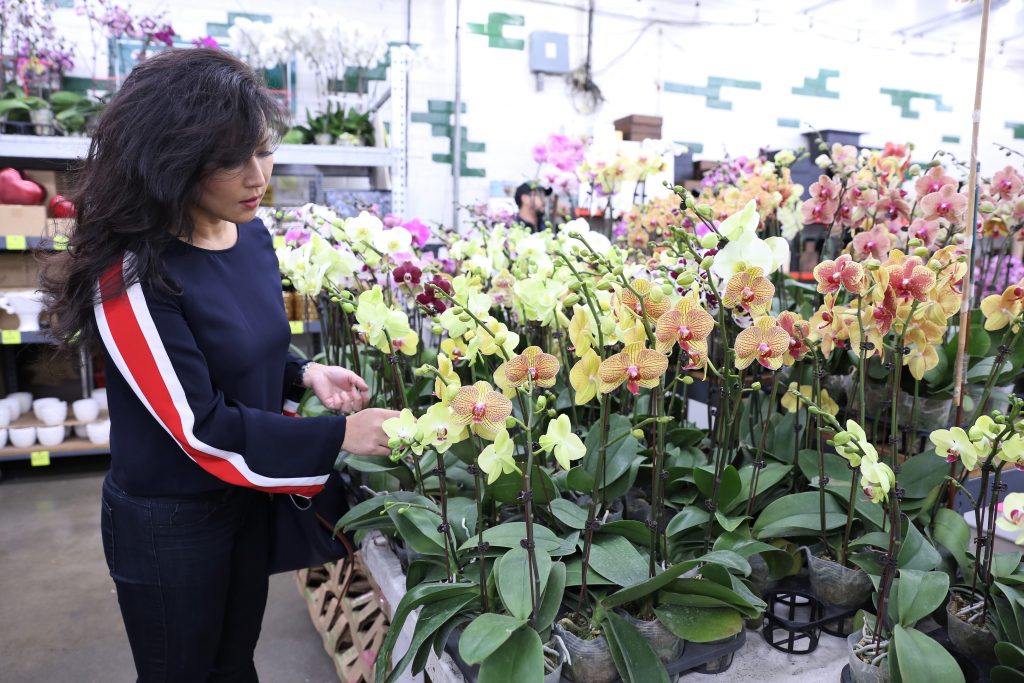
See how I am at the left third of the picture? And the flowers reach up to 2/3rds of the picture? This creates a more visually appealing view than if I was centered and the flowers went to the top of the frame.

Rule of thirds

Rule of thirds with the boys on the right, and the water line 1/3 height (more or less).
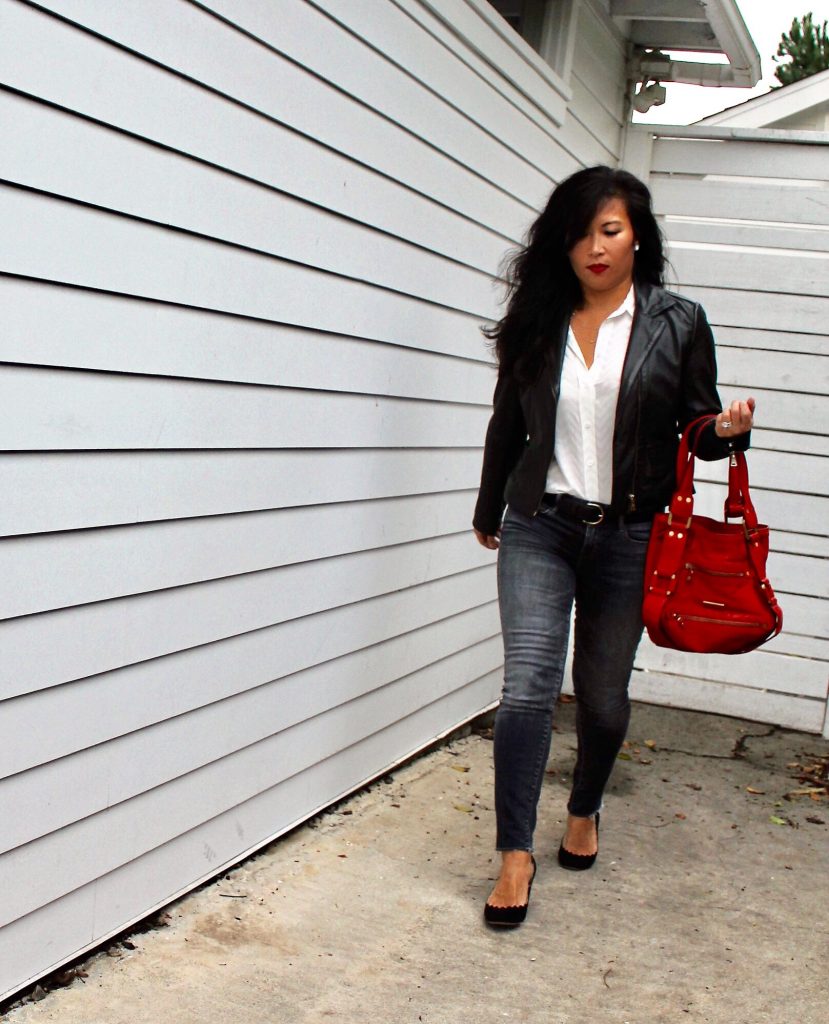
Rule of thirds with me on right
There is so much more to share, but I don’t want to overwhelm you. Practice these for now and then visit my Tips for Portraits. Please be sure to comment on how these tips helped you so I am motivated to keep sharing!
Check out these other posts about Ben’s photography in the meantime- Benjamin Benoit Photography Exhibit Success, and Headshots for Justin.
Ben’s pictures on his website are available for custom orders (prices are on his site as well). My husband and I purchased 3 pieces already for our great room and bathroom in our home, and for our patient lobby in my husband’s medical office. The acrylic prints (you can choose canvas too) have a modern feel with a glass like finish. We love his work – I think you will agree when you take a look at his portfolio.
I can’t believe I am giving tips about how to take good pictures! If you saw some shots I took a few years ago, you would have bet against me being able to successfully learn these skills. If I can do it, anyone can!
Flavor Your Life With an Ounce of Salt. A lifestyle blog by Jen Oliak.


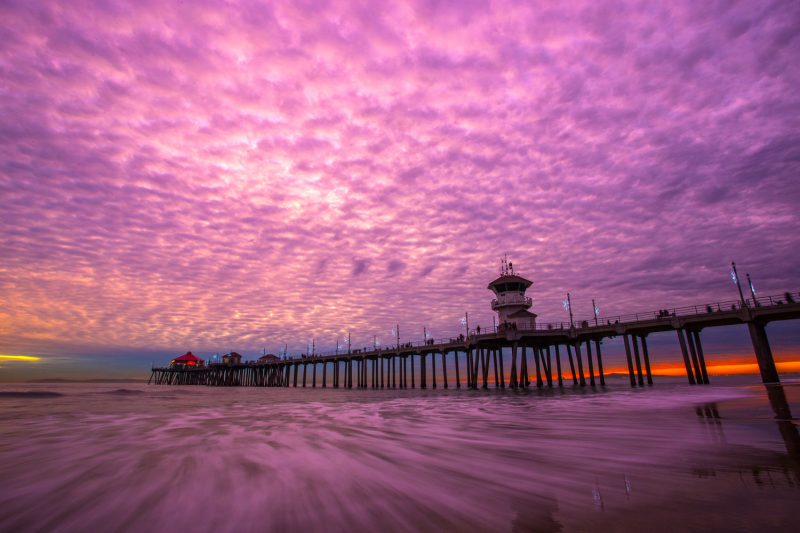




Great article! The shot of the pier while you were on a run, what filter did you use? I still cannot figure out filters…
Thanks! Ill talk about filters in the next post, Beth! I think this one I used Lark on Instagram. Their filters r better than the ones on iphone. Get onto insta! I’m mostly posting there these days.
Those pics are so beautiful! My Canon just died on me and now I’m looking for a smaller/lighter but fast shutter speed. Any suggestions? I want to get it before you guys come!
the sony cybershot rx100 III, IV or V are much smaller and have most of the functions- we just got as a group gift for a friend
https://www.bhphotovideo.com/c/product/1289584-REG/sony_cyber_shot_dsc_rx100_v_digital.html
The tip about the landscape is new to me! I’ll give this a try next time ? and the rule of thirds had really helped me to up my game – great tips.
I’m so glad it helped you! Hanks for leaving the comment. Makes me realize people are actually reading my stuff. Lol!
Thank you so much for these tips, they are truly helpful. I am a newbie to instagram and have a goal of improving my photography everyday. Again, thank you for your generosity.