Do you want to say goodbye to gray hair? Some women love their grays and prefer to keep their natural hair color. More power to them, but I am not one of those women! My gray hairs grow in wiry and thick and don’t look good mixed with my black hair. And when I wear my hair straight, any grays I have really stand out.
This post has been sponsored by Zotos Professional, offering hair care products backed by science since 1929.
I posted a few weeks ago about my favorite permanent hair color product, “Wanna cover your grays? This is your best option”, to discuss why I love using Agebeautiful gray coverage hair color and how to purchase it.
I thought it would be useful for those of you who would like to try it if I gave you a tutorial on how easy it is to color your hair at home.

This product line has the first color with melanin, keratin peptide, silk protein, and a patented conditioning technology to help replenish hair with the components that are lost with aging. ln addition, AGEbeautiful permanent color is infused with a boost of vitamin E to moisturize our hair and promote a healthy scalp. It’s the best hair color I’ve found in the market to cover grays.
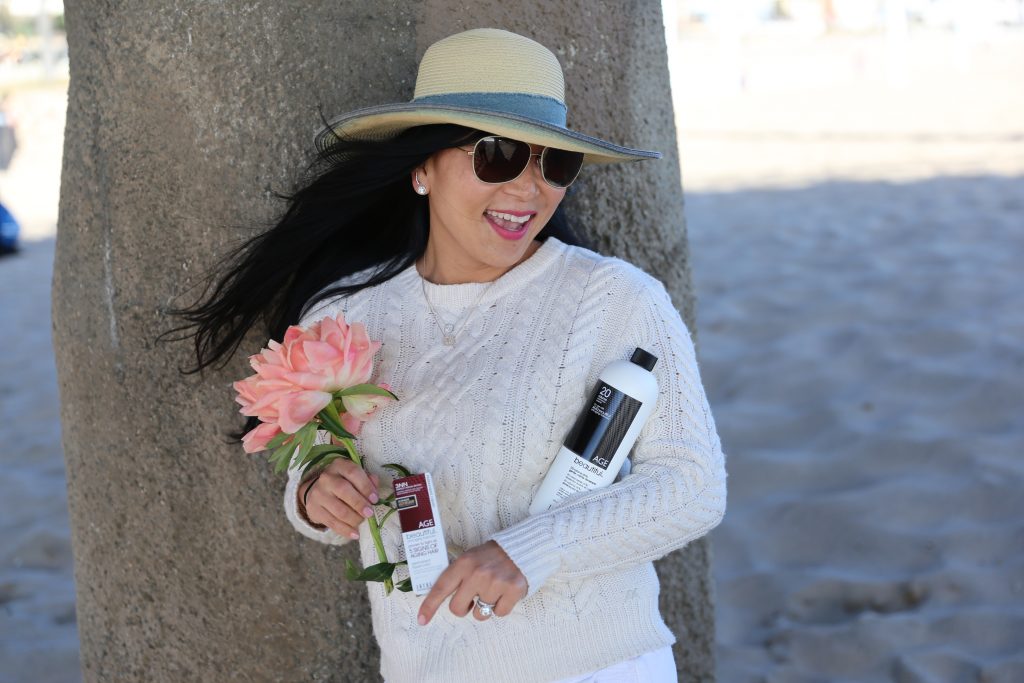
You’ll need:
- AGEbeautiful Anti-Aging Permanent hair color in your desired shade (You can opt for the creme color or liquid color. I use liquid color 3NN which is the darkest brown.)
- Bottle of developer
- An applicator bottle
- Gloves
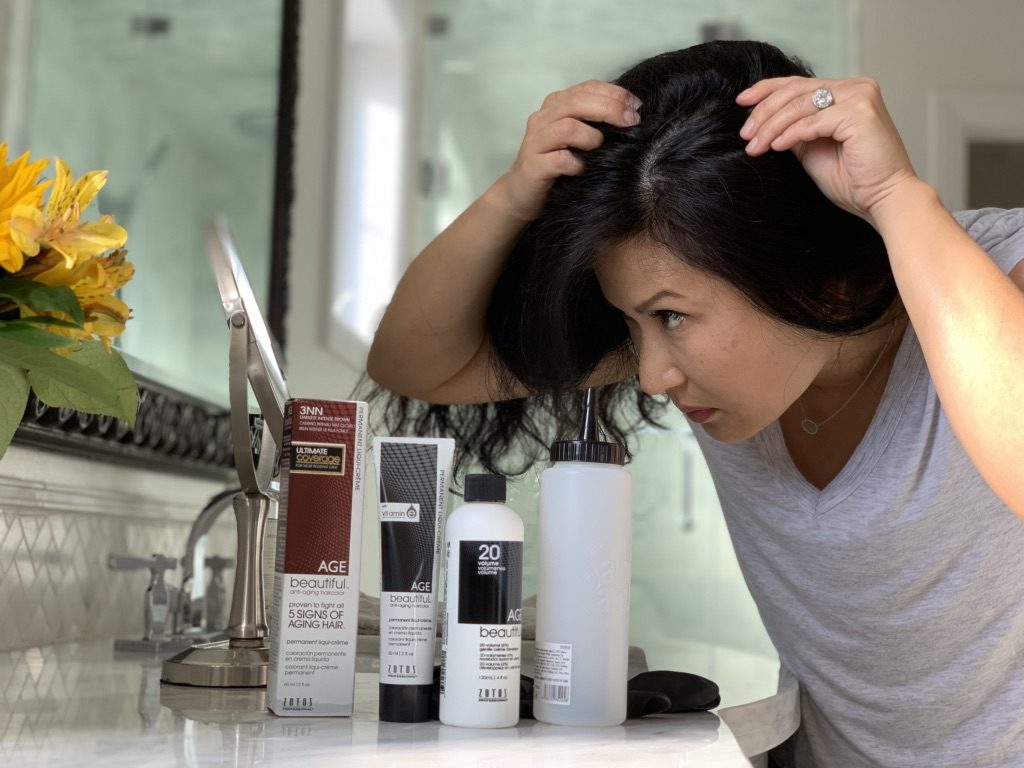
Step 1: Protect your skin
With a paper towel, cotton swap or your fingers, apply a thin coat of conditioner around your hairline. This will prevent hair color that gets on your skin from staining.
Step 2: Mix color
Put on gloves and an old shirt you won’t mind getting stained. Empty the contents of the AGEbeautiful Anti-Aging Permanent hair color into the applicator bottle. Then add 2 ounces of the developer. Shake vigorously 20 times to mix thoroughly.
Step 3: Apply hair color
Starting with your hairline around your face and neck and where your hair is parted, apply the color to the roots with one hand while rubbing it in with the other. Coat about 2-3 inches from your roots and not the whole length of your hair.
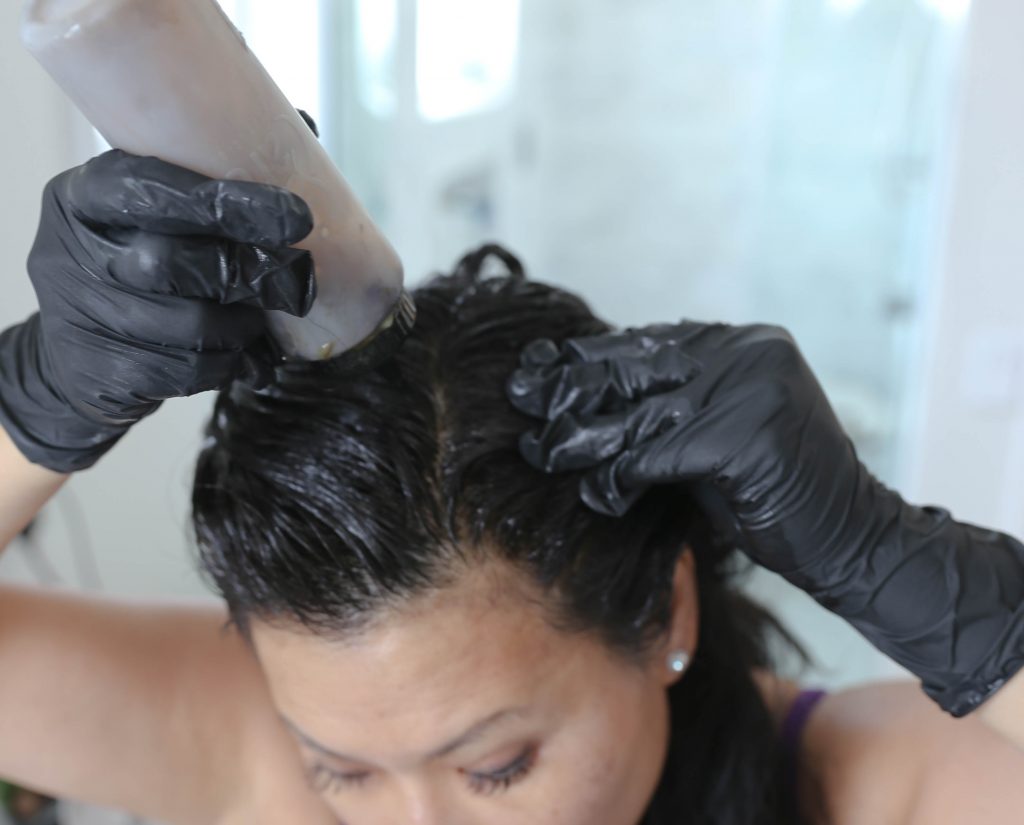
As you do this, take a wide-toothed comb and work through your roots to make sure the color is coating the deeper layers of your hair. Then add more color and work in with your hands again. I do this to make sure every hair is saturated with the dye on all sides. The comb may strip some of the dye that touches it which is why I coat once more after combing through.
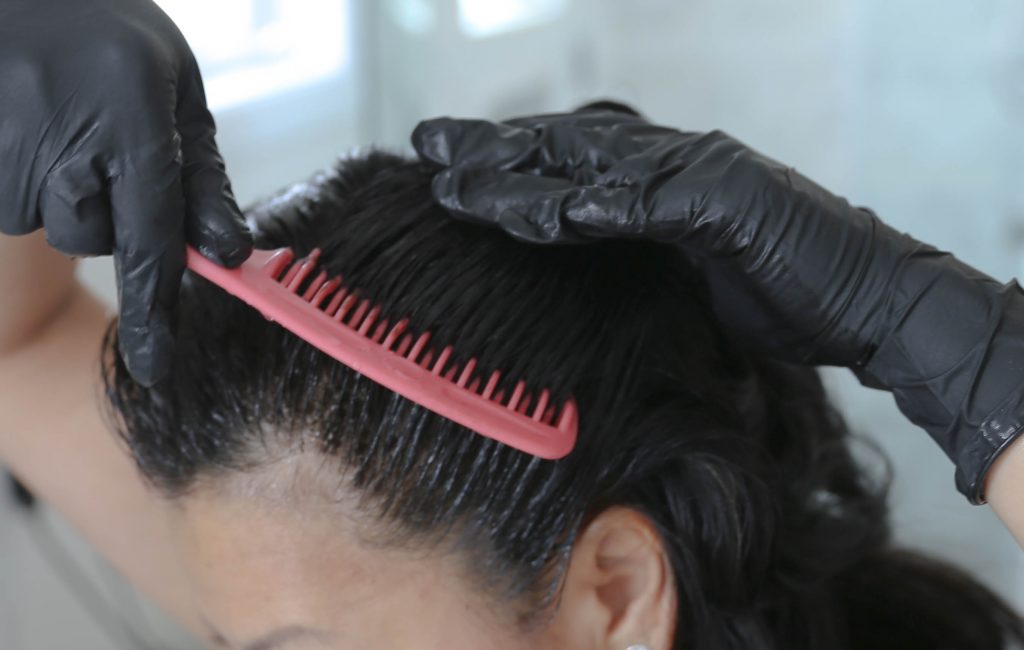
Make sectional parts with your hair and continue to apply the color, starting from the roots.
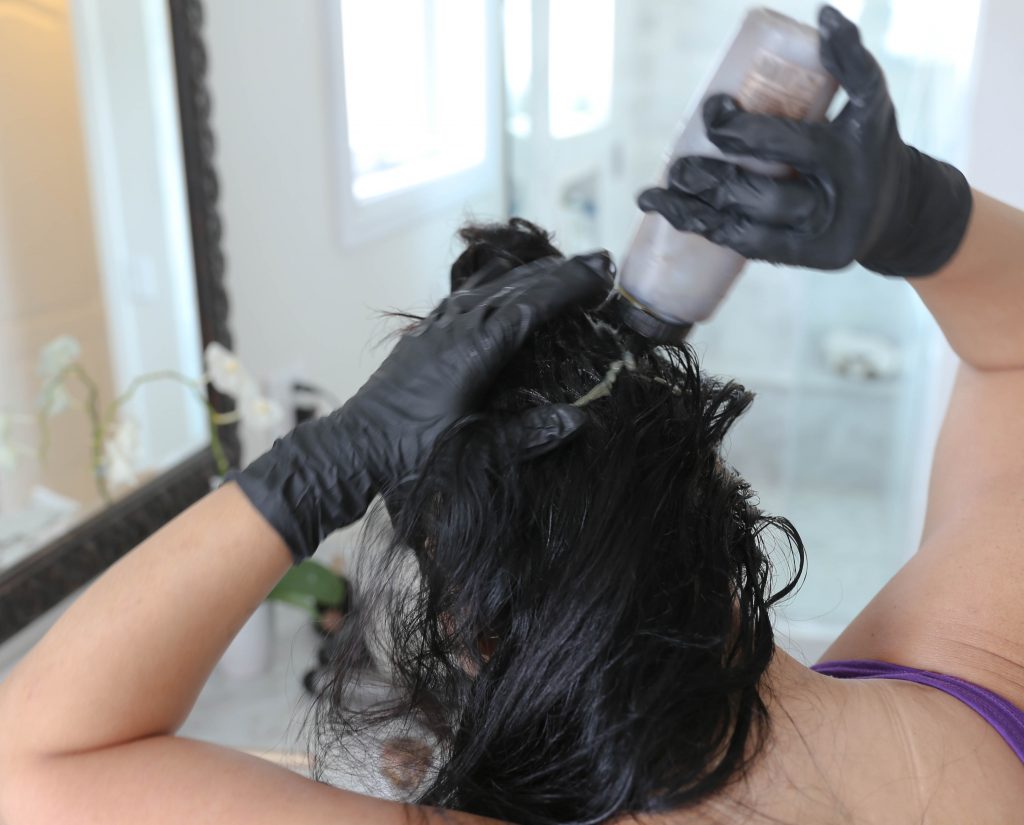
Once you have coated all of your roots, put your hair up and secure with a clip. Note – you are not applying color on the whole length of your hair – you are applying just to the roots and about 2-3 inches of your hair from the roots.
The reason why you don’t put the color all the way down to the ends is that it is permanent color. Due to its strength, repeated coloring can be drying to the hair.
You can save a little dye and apply to the rest of your hair for the last 5 minutes of your 30 minute period you have the dye on your roots to refresh your ends if needed, but this product is meant to apply just to gray regrowth. In fact, depending on how thick your hair is, you may get away with only using 1 oz color & 1 oz developer each time you refresh your roots!
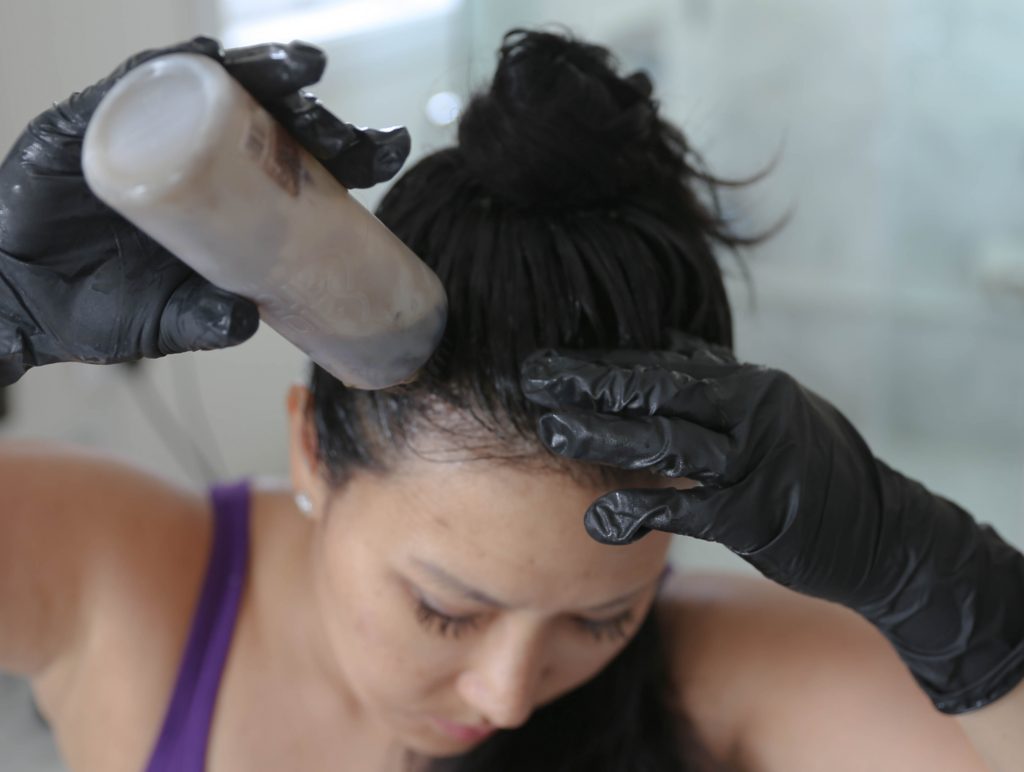
Unless my ends are brassy from the sun, I don’t apply any of this color to my ends. If I have any leftover color, I will keep applying to my roots with my hair up until I finish the remaining dye in the bottle.
If you’re wanting to give your hair an overall color refreshment along with covering your grays, you can use the demi-permanent color which is ammonia-free and will not damage your ends. Keep in mind that the demi-permanent color will fade after 20 washes.
Step 4: Wipe off hairline conditioner and any dye that got on your skin.
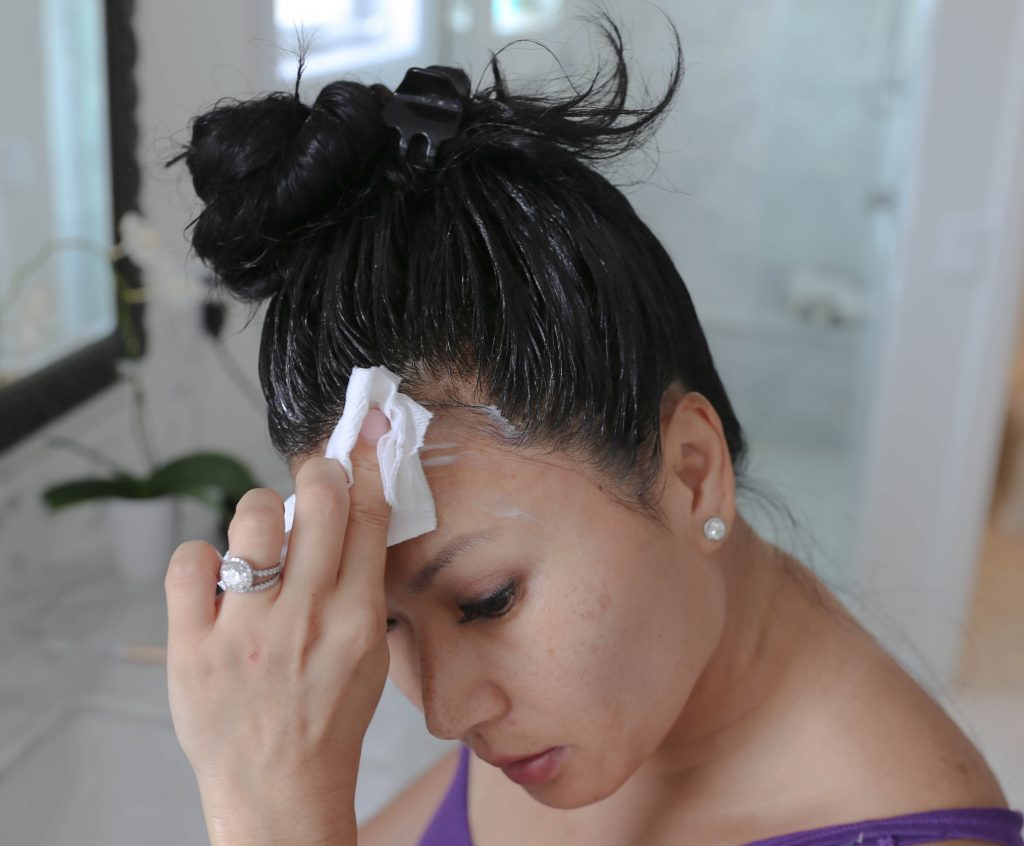
Step 5: Cover hair with a hair cap
This step is not necessary but I’ve learned from experience that I need to prevent any color rubbing off on my clothing and skin by wearing a hair cap. 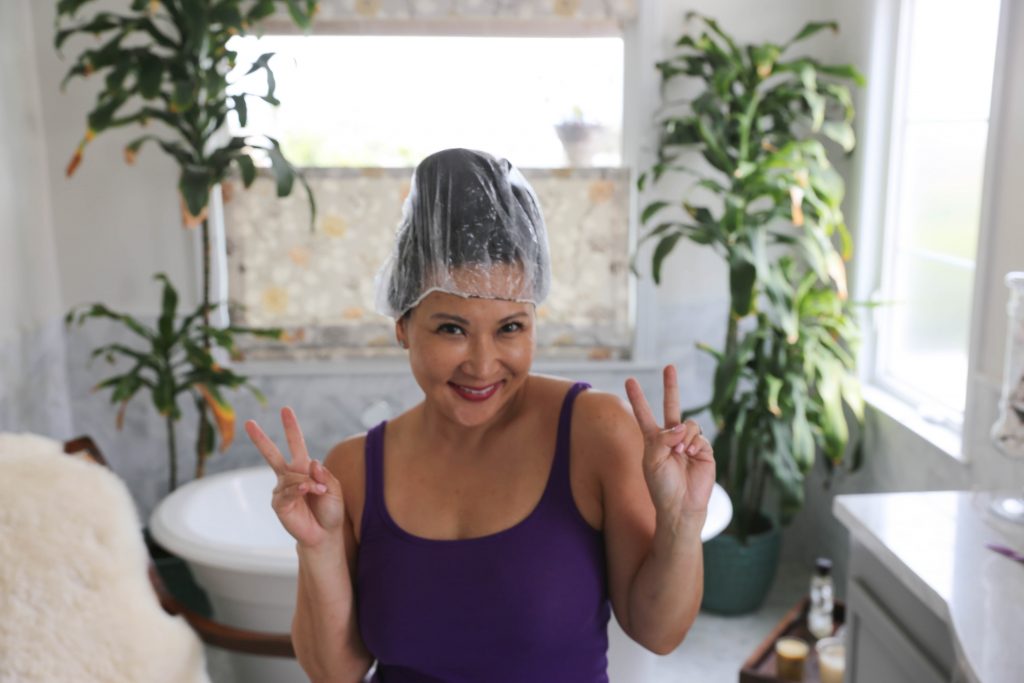
Step 6: Set timer for 30 minutes
What I love about coloring at home is that I can be efficient with my time. There aren’t enough hours in a day to do all the things I want! Coloring at home is easy, and I love getting other stuff done during the 30 minutes I’m waiting for the color to set.
Step 7: Rinse and wash
When I rinse, I first run warm water through my hair in the shower until most of the color has washed out before shampooing.
I shampoo and then condition like I normally do, and I’m done!
I only color every few months after my grays have grown out at least 2 inches. In the interim, to cover the roots that are starting to grow out, I use the temporary root touch up spray after styling my hair.
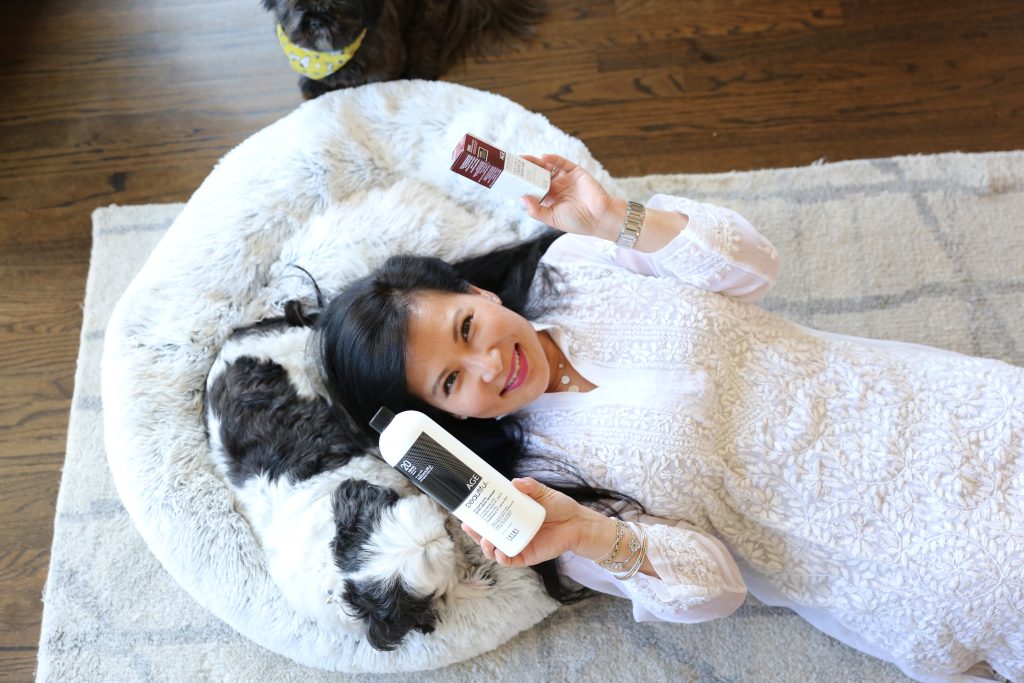
It’s an efficient system, guys. My grays are only increasing in number as I age, and my roots grow out pretty quickly. I’m so happy to find Zotos Agebeautiful to help me manage my aging hair. Try it! I think you’ll agree! And let me know how it works for you!

