Did you get a chance to read my blog post, 4 Tips on How to Take Good Pictures? It’s a good one if you are interested in upping your picture taking skills.
The 4 Tips on How to Take Good Pictures focused on the following points:
- Lighting is Everything
- For Landscape Pictures, Get Low
- Make Background Blurry
- Use Rule of Thirds
As I discussed in the first post, I learned how to take pictures from photographer, Benjamin Benoit (the cover shot of this post is his pic).
Here, I continue the discussion of how to take better pictures with a focus on photography tips for portraits.
I’ve been practicing my photography skills non-stop since I started blogging about a year ago. Ask anyone I know, I always have a camera with me.
One of the fundamental rules of photography- Practice! If you look at my Instagram Feed , you can see how the quality of my pictures have improved over time. I take many pictures to see what works well. Like with anything, the more we work at something, the better we become. So take a lot of pictures. You may annoy the people you are with in the moment, but they will thank you later when they have a great shot from your time together!
Before I go into my quick tips, if you want to learn more about photography, I recommend Creative Live courses.

Photography Tips for Portraits
Keep it Simple
- One or two points of interest
- Simple background
- Limit your palette: Try for one or two colors. It will be more pleasing to the eye and set the tone of the image.
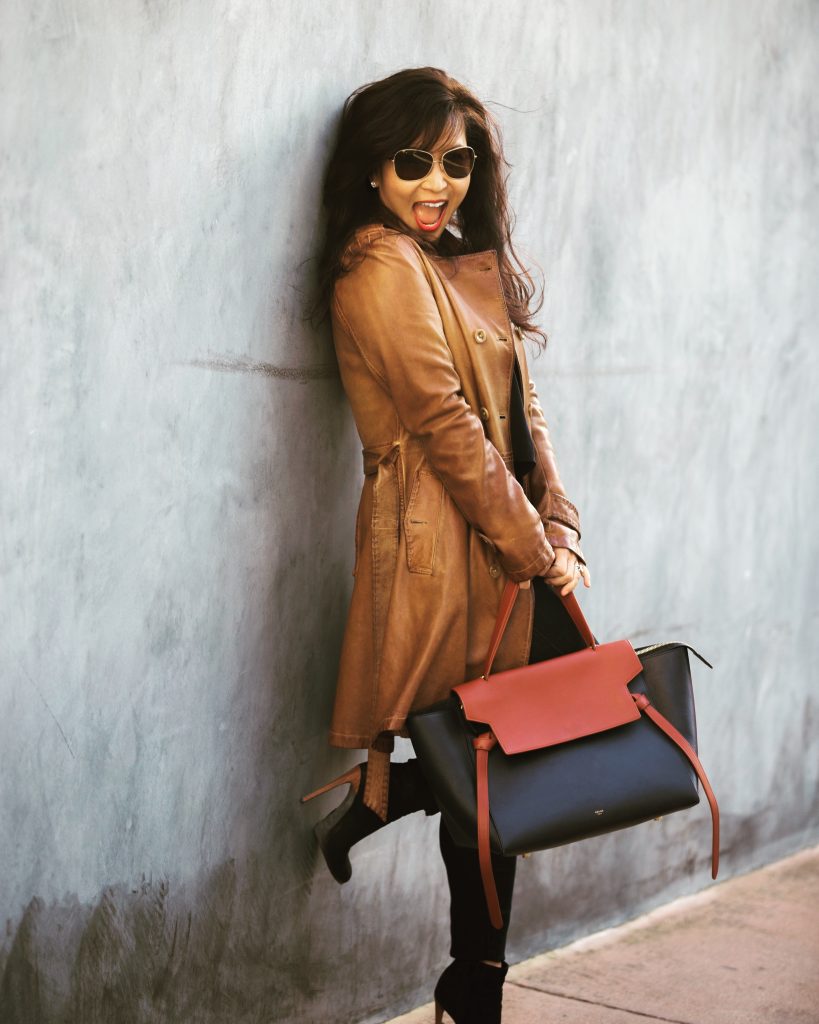
Photo by Benjamin Benoit
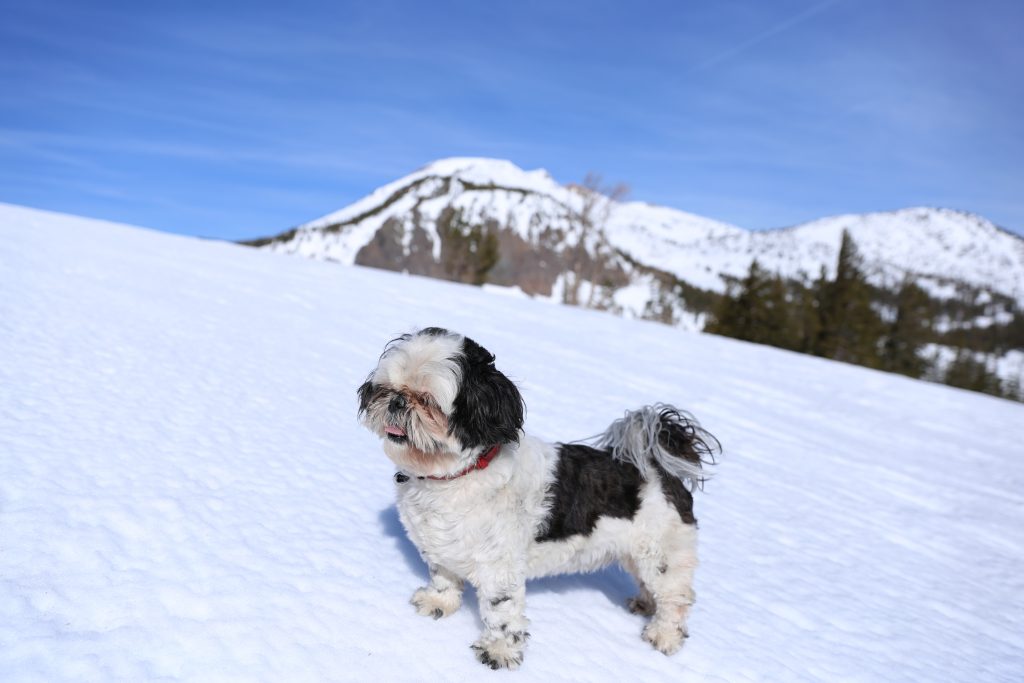
Dogs take portraits too!
Flattering Light
- Use window light – Stand near a window (not directly in front of) which will give your skin a soft glow.
- Overexpose photo to make more feminine and delicate.
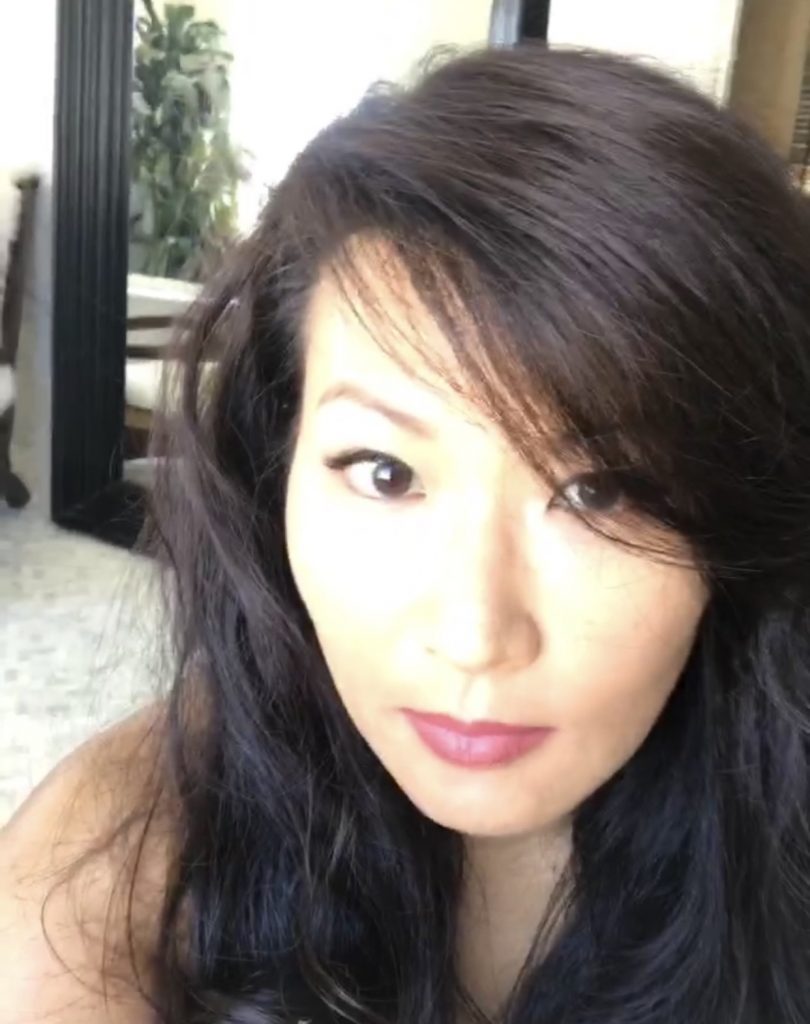
This is from an Insta-Stories Video I was taking near a window the other day – I took a snap of it on phone to show you how flattering window light can be!
Focus on eyes
Eyes should always be in focus. The expression in the eyes will make or break a picture.
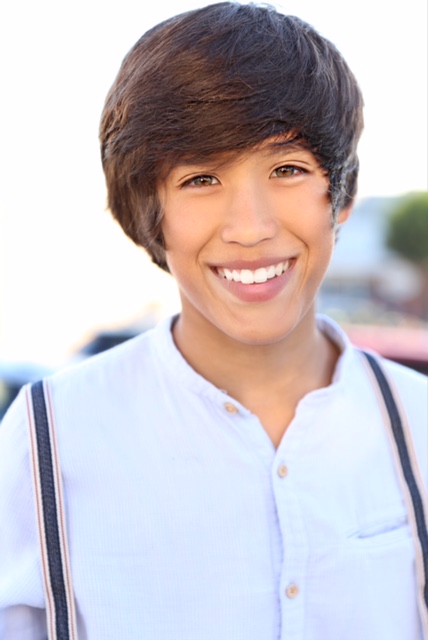
Know Your Angles
This is probably the most important tip about taking portrait pictures. The following are the main types of angles to use when taking pictures of people.
1. Eye level
This is the most common shot. The camera is level with the subject and the eyes look directly into camera without moving up or down .

2. Low Angle Shot
- Close Low Angle
A close shot from a low perspective makes the subject look strong and powerful. It increases height & lengthens legs. But be careful if you are too close, as it can also make the subject’s body look less flattering.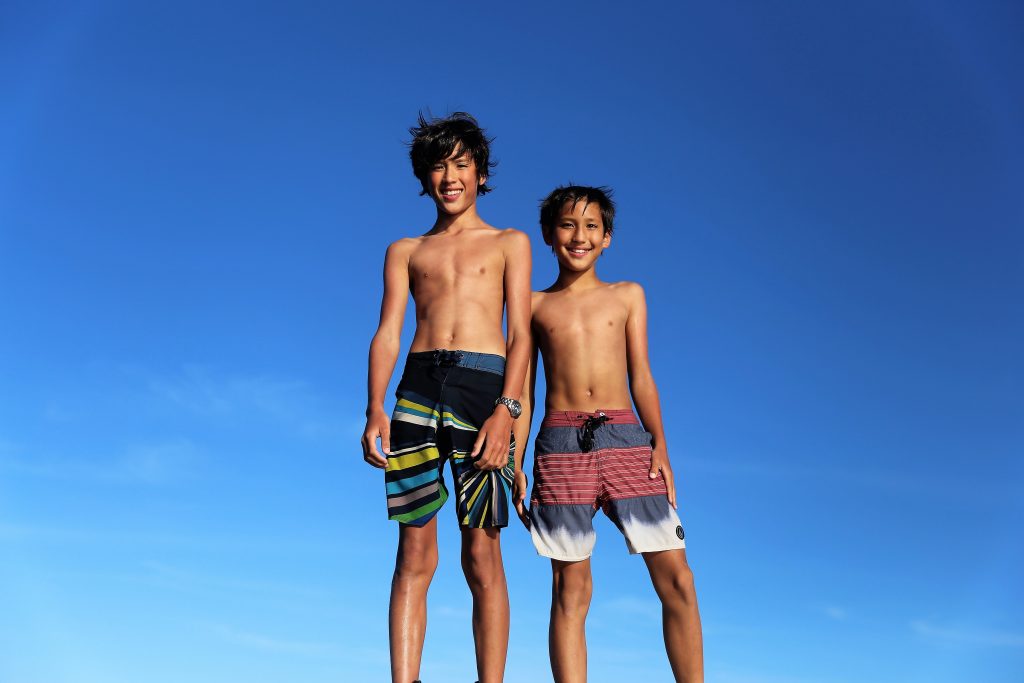
- Far Low Angle
Get further away for the low angle perspective to get the most flattering full body shot (tilt up to elongate legs).
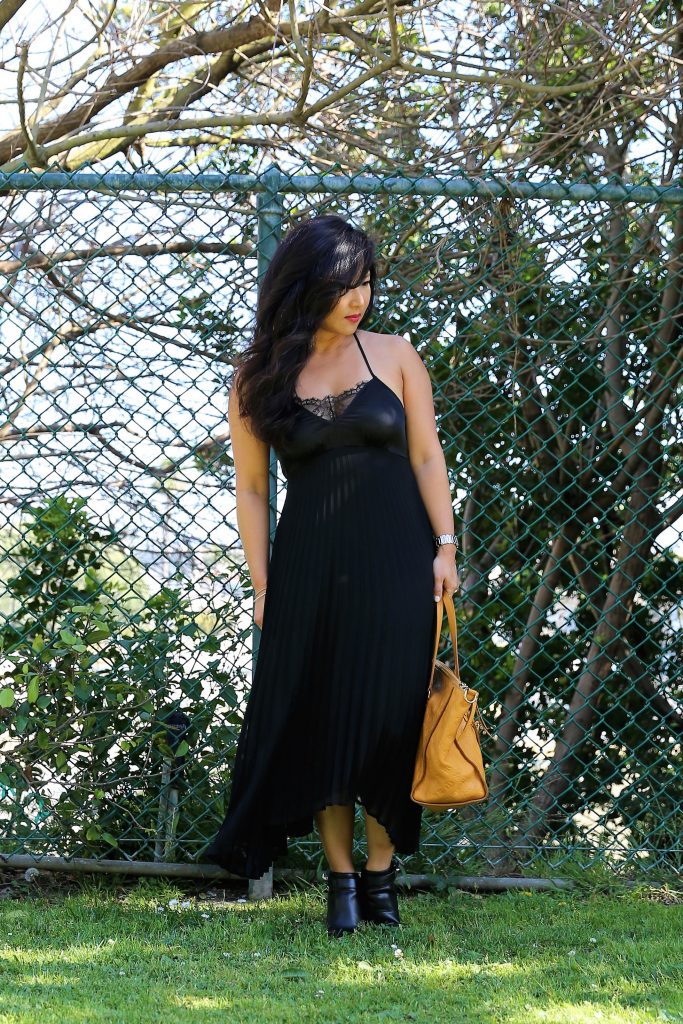
Shot from sitting down and further away, then cropped . Legs look longer, body looks leaner.
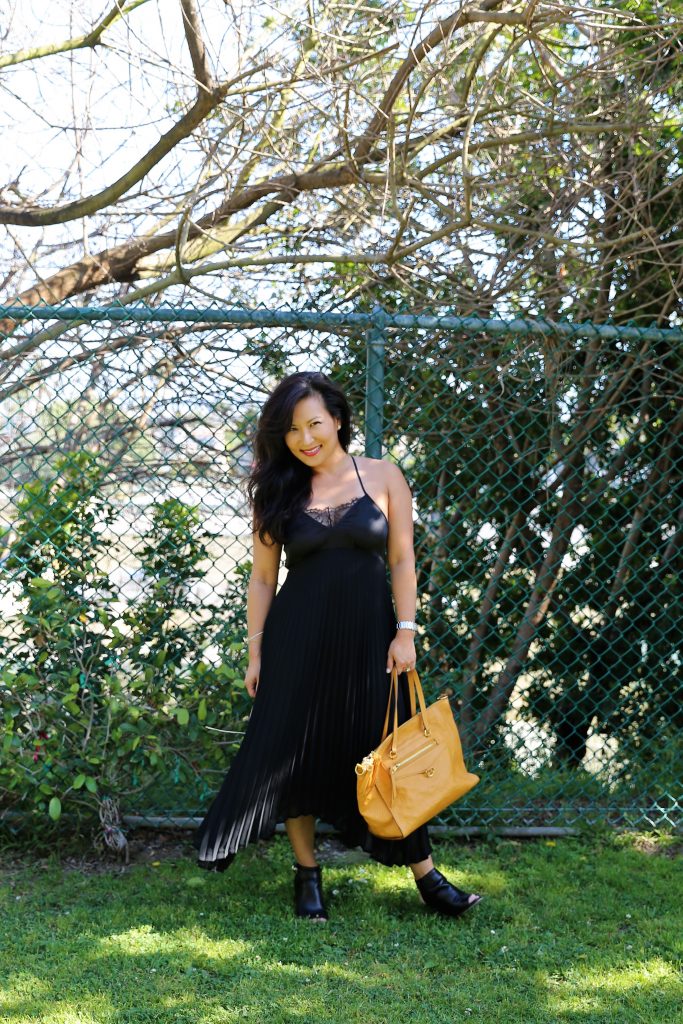
This is from a little bit higher perspective than my height and closer in, no cropping. How much shorter do my legs look? I look smooshed!
3. High angle shot
Camera is above the subject, looking down. This focuses on the face and makes the body appear slimmer/more flattering.
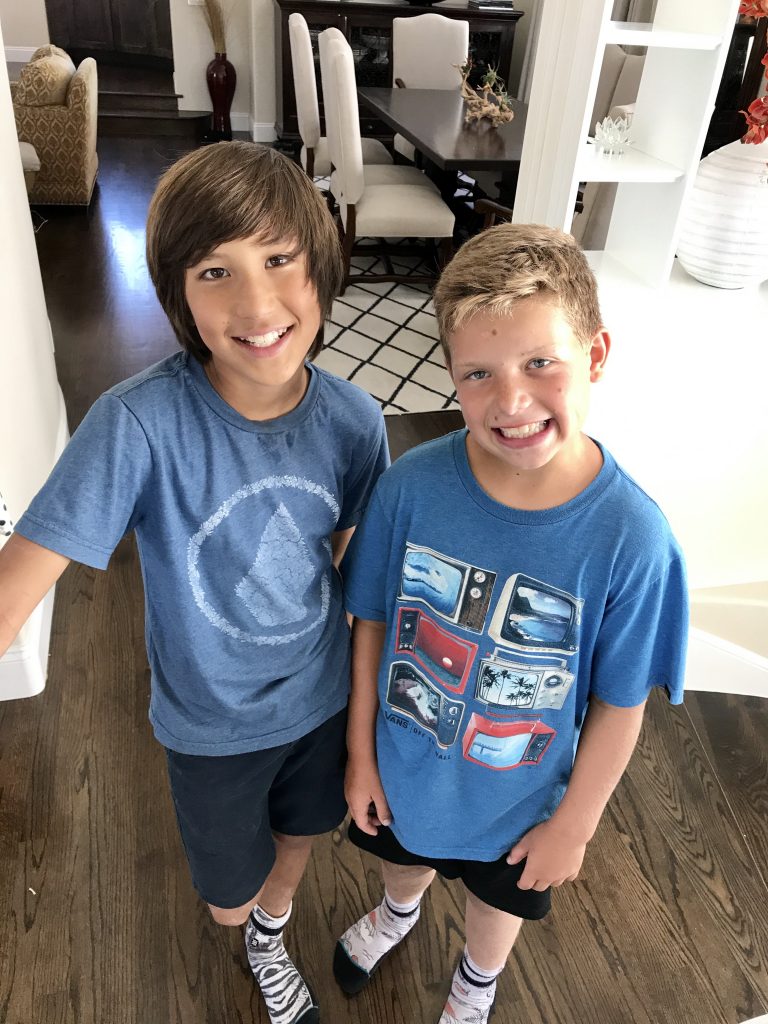
My son and his friend, Logan, came in as I was writing this post and reluctantly agreed to pose for this picture.
4. Face Shot Angles
Raise your camera higher and tilt your camera down a bit to make face look longer/more flattering.
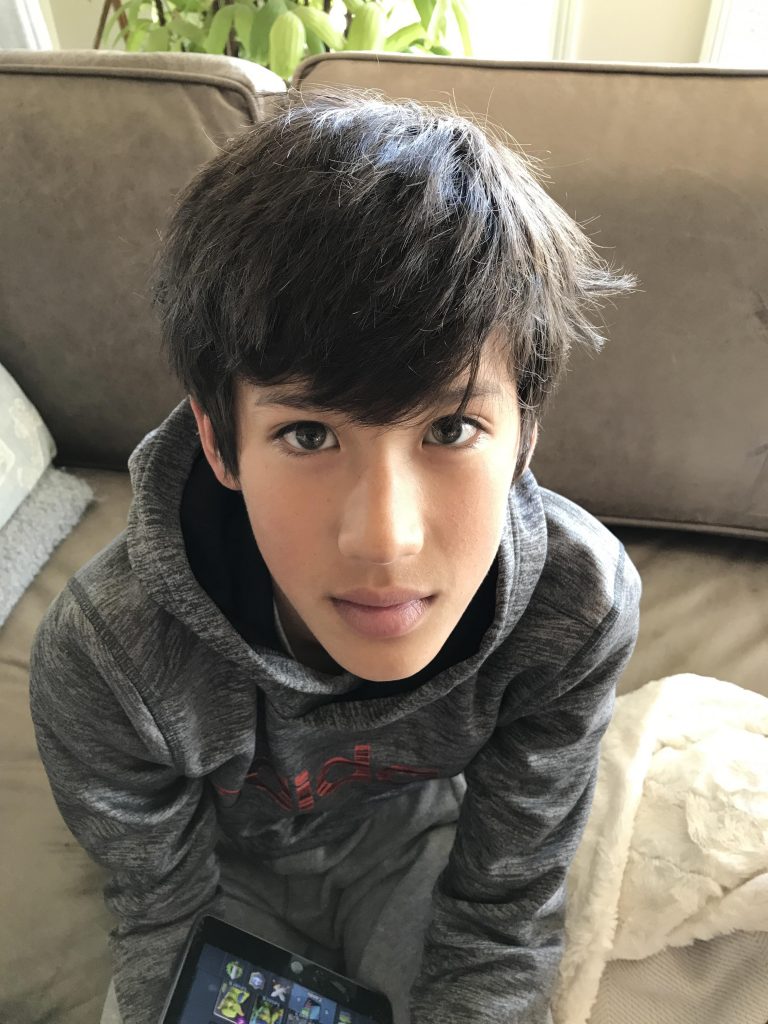
You know this one, right? You’ve taken a selfie before!
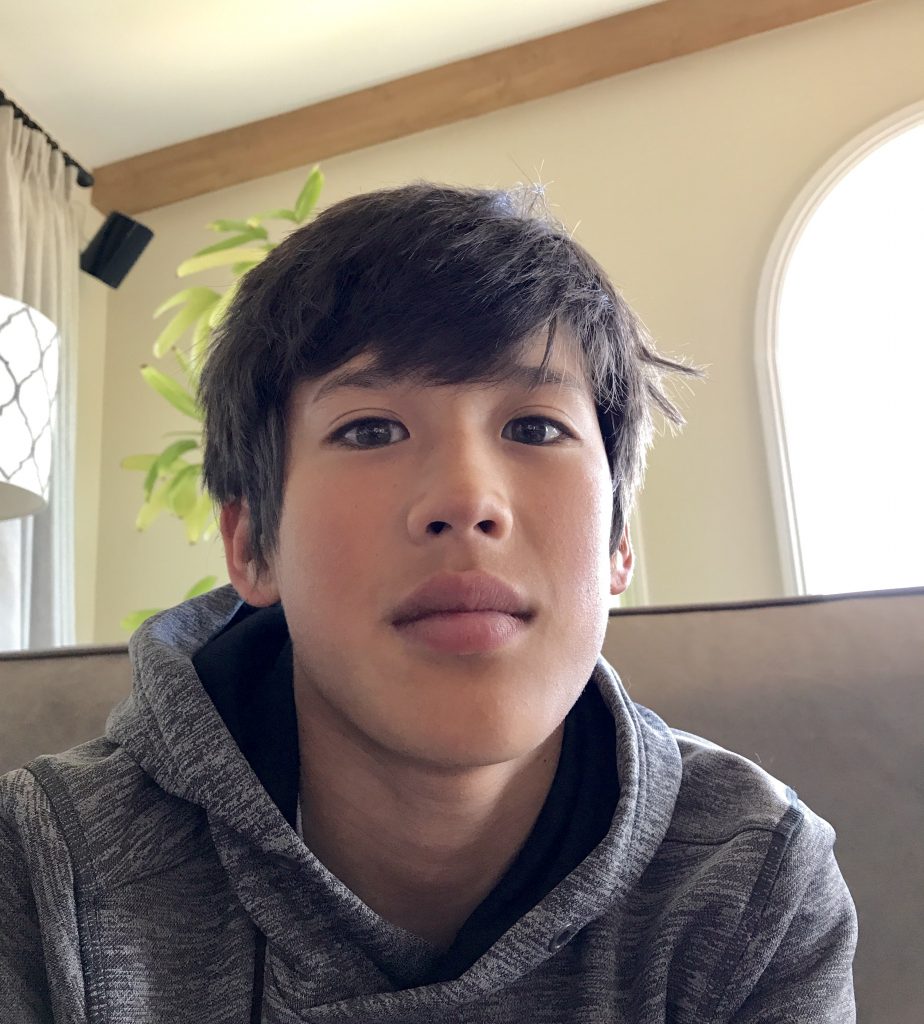
Shot from below the face is not flattering as it will make the bottom of our face more full and dis-proportioned.
Ok. I think this is enough info for now. Now it’s time for you to practice!
What do you think? Are you ready to put these tips to use? If you’re like me, after you try them, you’ll wonder how you didn’t know these points earlier.
Happy shooting! And please let me know your thoughts. I love hearing from you.
Flavor Your Life with an Ounce of Salt. A lifestyle blog by Jen Oliak.



Awesome help!!!!
Hey Flor! Thanks so much for your comment.
Thanks for the great tip! Shoot a scene at different angles and height, you’ll get shots that will likely be better than ones taken in the default manner.
true and I see you’re a photographer so you probably have more great tips!