Let’s talk about hair color. Do you color your grays?
This post has been sponsored by Zotos Professional, offering hair care products backed by science since 1929.
I feel like each year, the number of grays I have increased exponentially! I’ve been coloring my hair for years…probably since my late 30s. I used to be able to get away with using the drug store versions every few months. But then I noticed my grays becoming more stubborn and the hair dye washing off much quicker than I wanted. When I had just a few grays here and there, it was much easier to hide.
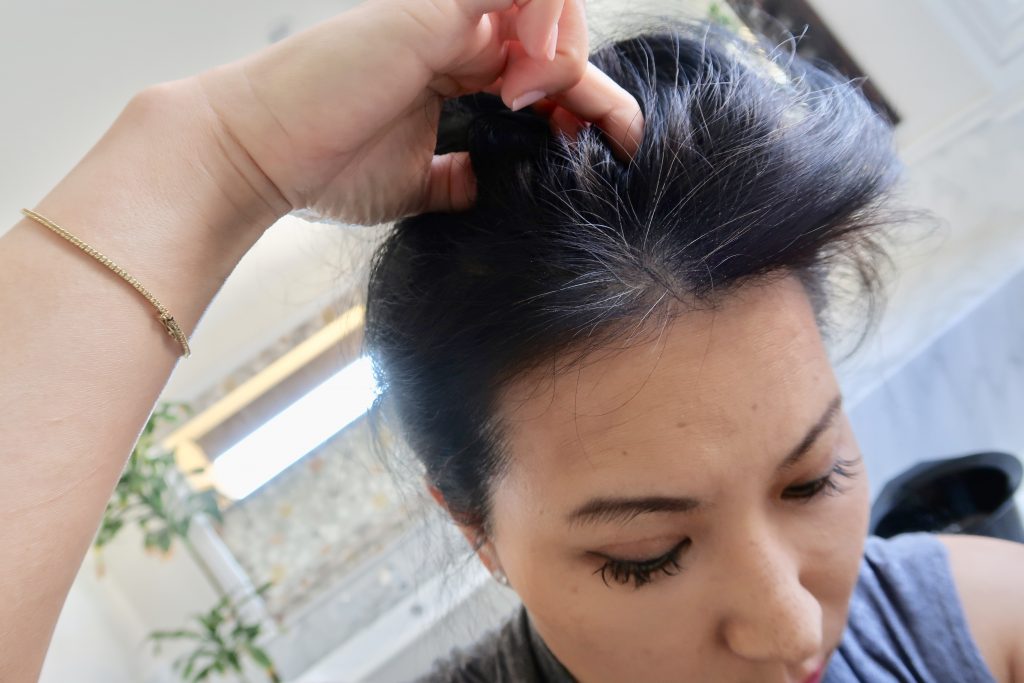
I thought maybe it was time to start going to the salon for permanent hair color. But then I found this AGEbeautiful line by Zotos Professional! It’s the only permanent hair color I’ve found that is available for purchase by the public. And even better, the products in this line are formulated for fighting the signs of aging hair. Check out my hair after I colored. Isn’t it shiny and healthy-looking?
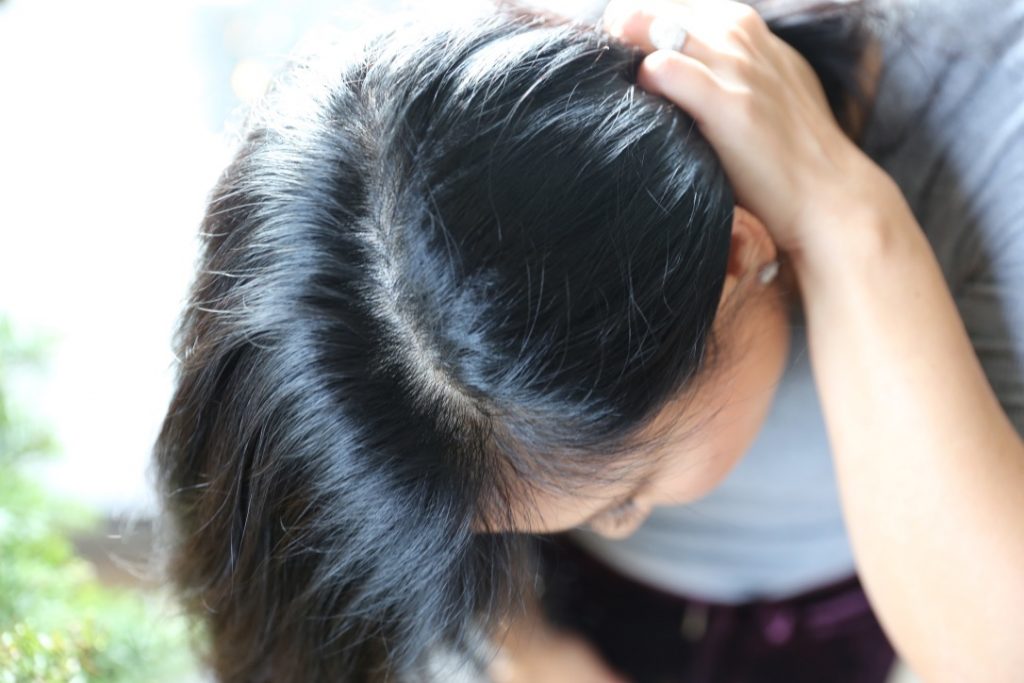
As we age, our hair experiences signs of aging. It thins, gets wiry grays, loses shine and becomes drier. This product line has the first color with melanin, keratin peptide, silk protein, and a patented conditioning technology to help replenish hair with the components that are lost with aging.

ln addition, AGEbeautiful permanent color is infused with a boost of vitamin E to moisturize our hair and promote a healthy scalp. In short, its the best hair color in the market for people who want to cover their grays!
If you enjoy going to the salon for the pampering and can’t be bothered to color at home, I totally understand. But hear me out. Paying $100 (and up) every 6 weeks to dye your hair when you can pay a small fraction and do it at home EASILY while getting other things done around the house, it’s hard not to reconsider.

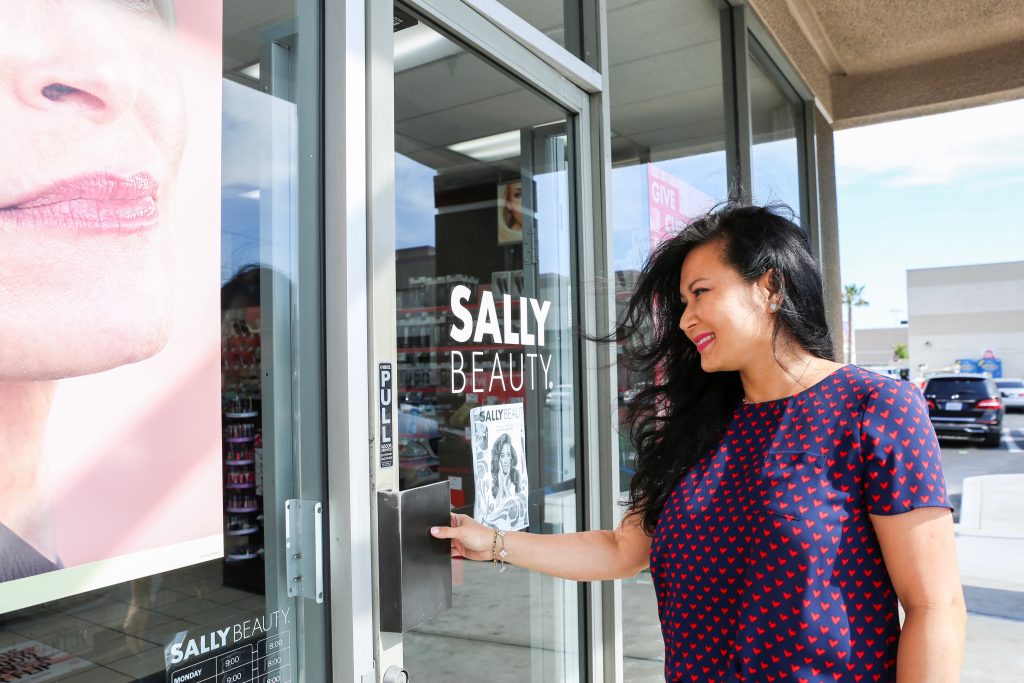
All you have to do is visit Sally’s Beauty Supply store or better yet, shop at their store online!
You’ll need:
- AGEbeautiful Anti-Aging Permanent hair color in your desired shade (You can opt for the creme color or liquid color)
- Bottle of developer
- An applicator bottle
- Gloves
The difference between the creme versus liquid color is that the creme color is thicker and works better when used with a tray and application brush versus a bottle. I prefer liquid color because it’s easier.
All I have to do is pour it into the bottle and mix it with the developer. It makes application easier too as I don’t need to be as precise as I would with a brush application.
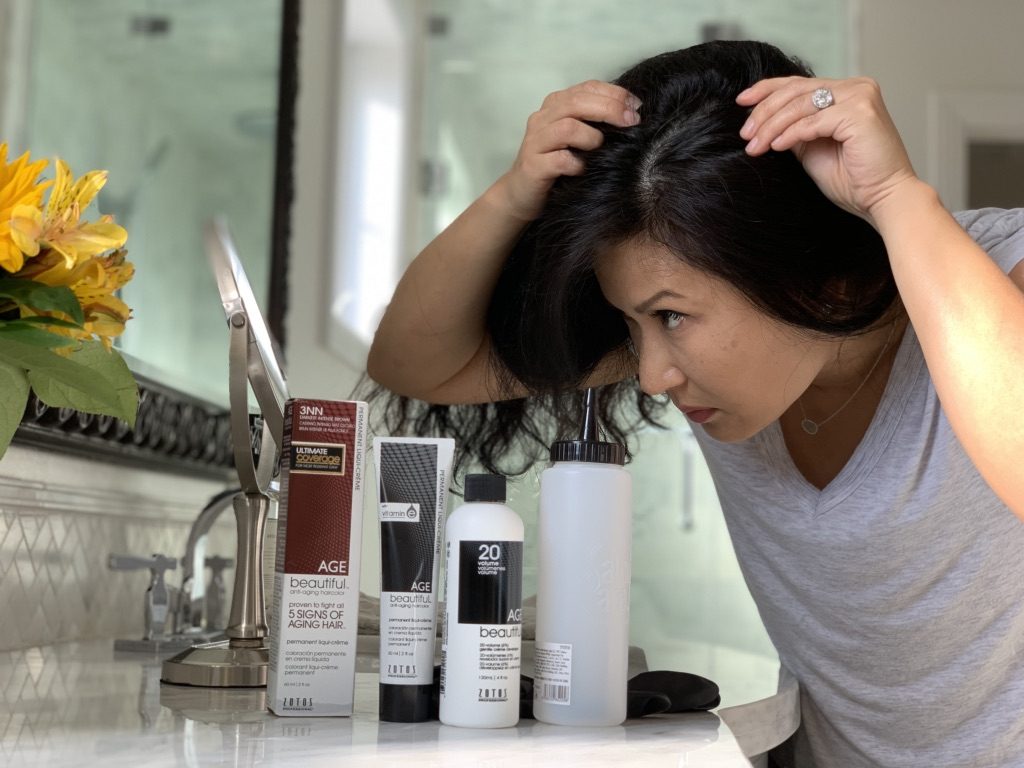
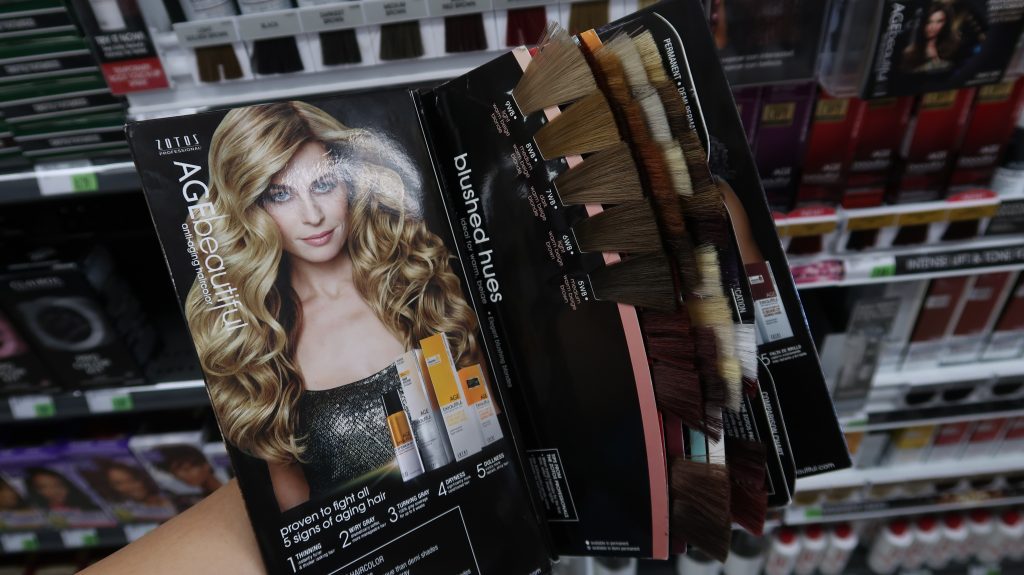
How do you pick your shade? When trying hair color for the first time, the company recommends you select 1 shade lighter than your hair color.
It’s hard to go wrong with your shade unless you have many different tones in your hair or highlights. Just take the color of your hair and look at the shade selection, then pick a shade slightly lighter for your first time using this product. The company recommends one shade lighter just in case your hair is sensitive and processes the color quickly (you don’t want your grays to cover too dark). Personally, I picked the same color as my hair which is 3NN and it worked perfectly.
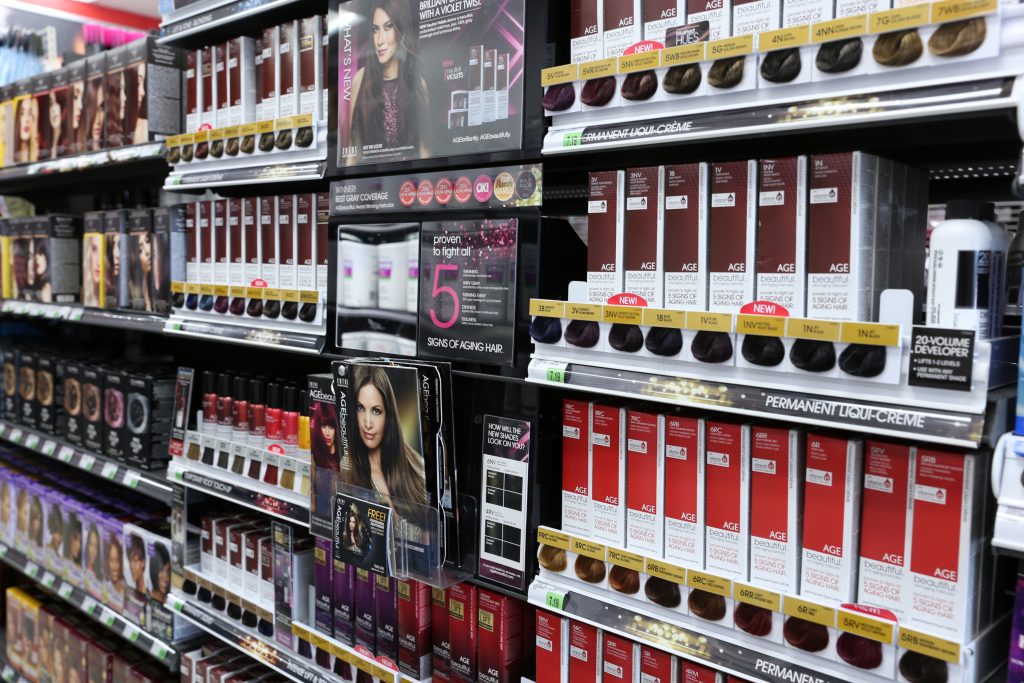
Once you have your color picked out, get the small bottle of the 20 Volume developer. Developer strengths are available from 10 (1 level lift) to 40 (4 levels lift and strongest). 20 Volume means the developer change the hair color a max of 1 to 2 levels.
This is a lot of info about hair color and I don’t want to overwhelm you, so I’ll cover exactly how to apply this product to your hair in a blog post very soon. If you’ve been looking for an easy solution to cover your gray hair, I think you’ll find this product will more than meet your needs! Get the components I outlined above, and I’ll show you how I use this for my own hair very soon.

